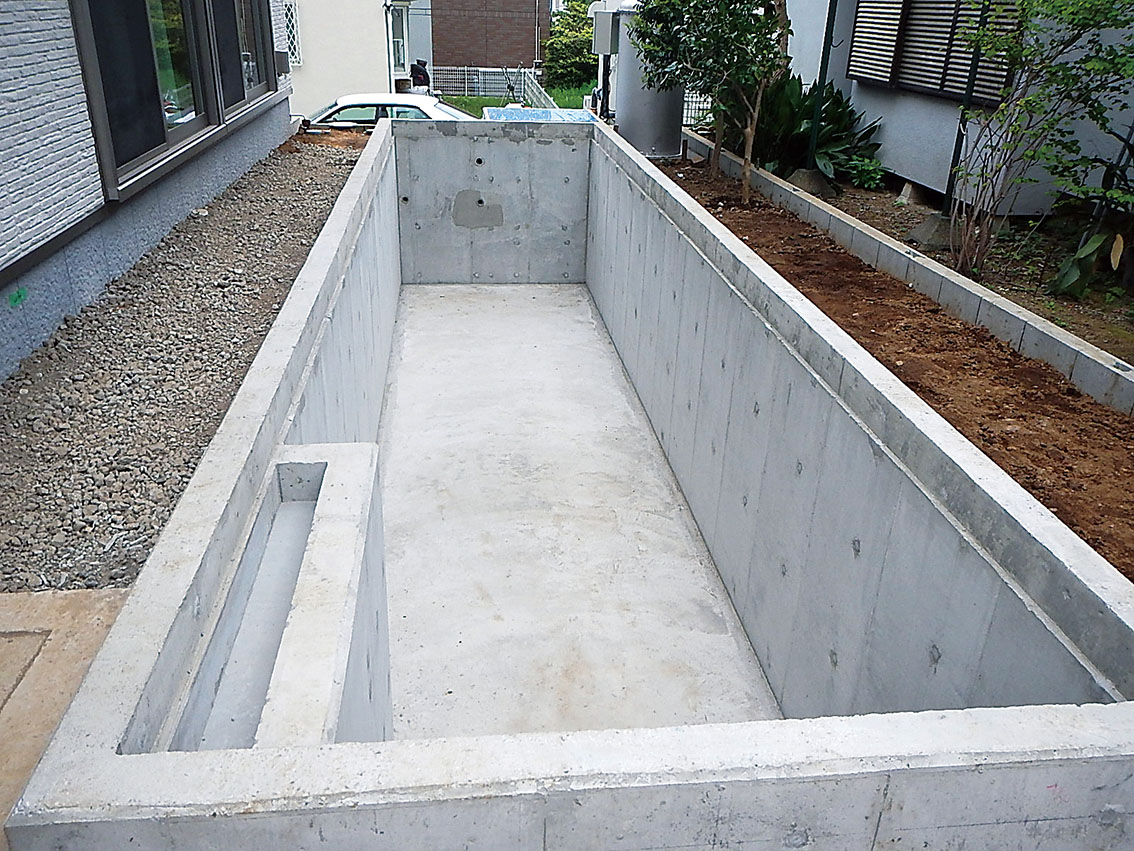
When the formwork is dismantled, it takes on this shape (15). The overflow section extends slightly into the interior of the pond, but the exterior has been given the same shape to create a sense of unity.
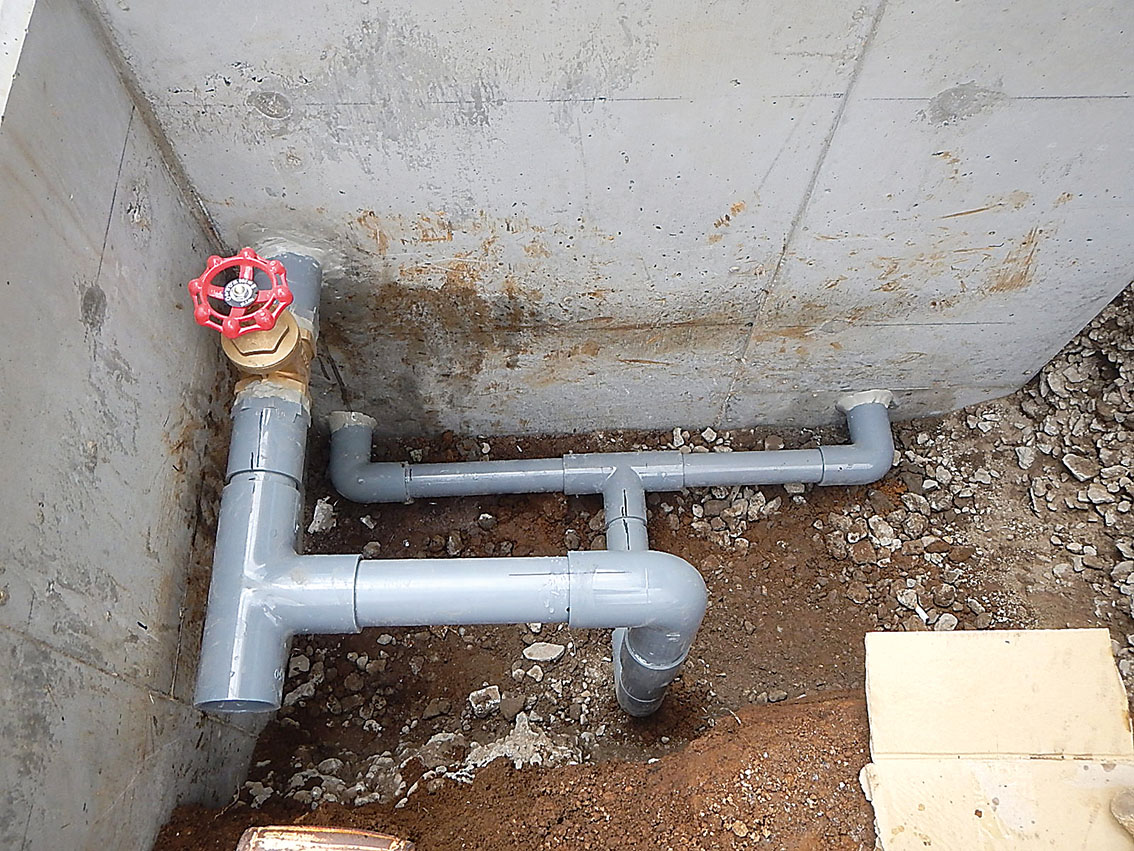
This is the piping for the jets coming from the filter (16), shown here before burial. The water flow of the jets can be adjusted by closing the valve.

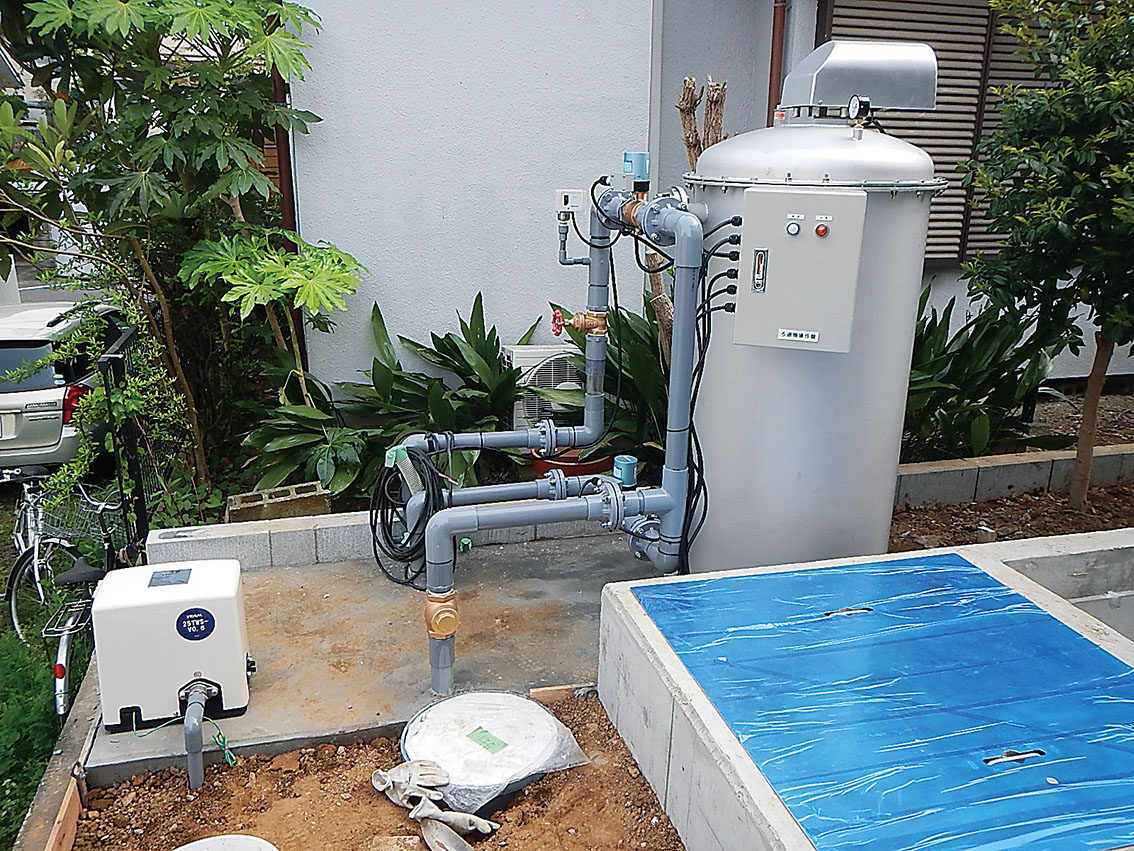
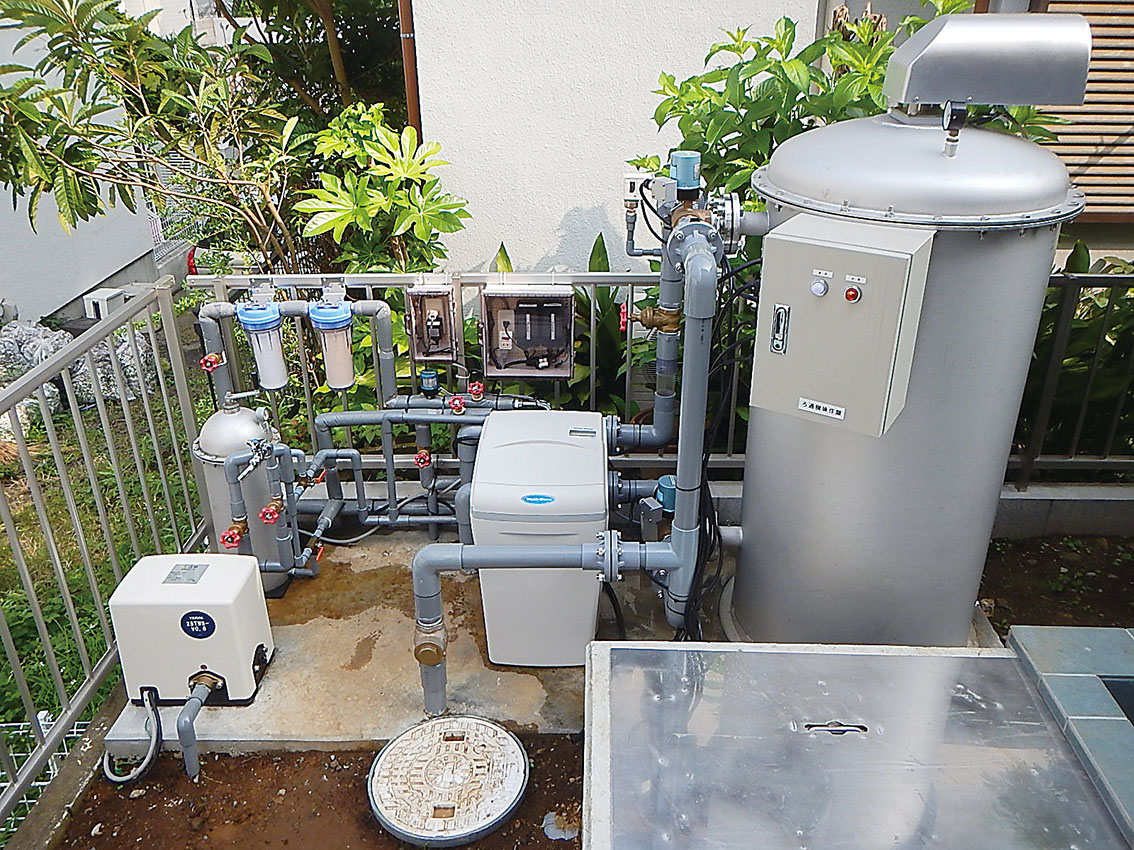
The filter unit is the ‘Kagayaki’ (Utsunomiya Seisakusho Co., Ltd.), currently regarded as the very best of its kind; we installed a 25-tonne model (17). This is a sand filtration system equipped with a fully automatic sand-washing mechanism. It was hoisted into position on site by a crane from outside, anchored in place, and then the pipework was connected. The area covered by the lid at the bottom right is the pit; the manhole is the well that was dug first, and next to it is the well pump.
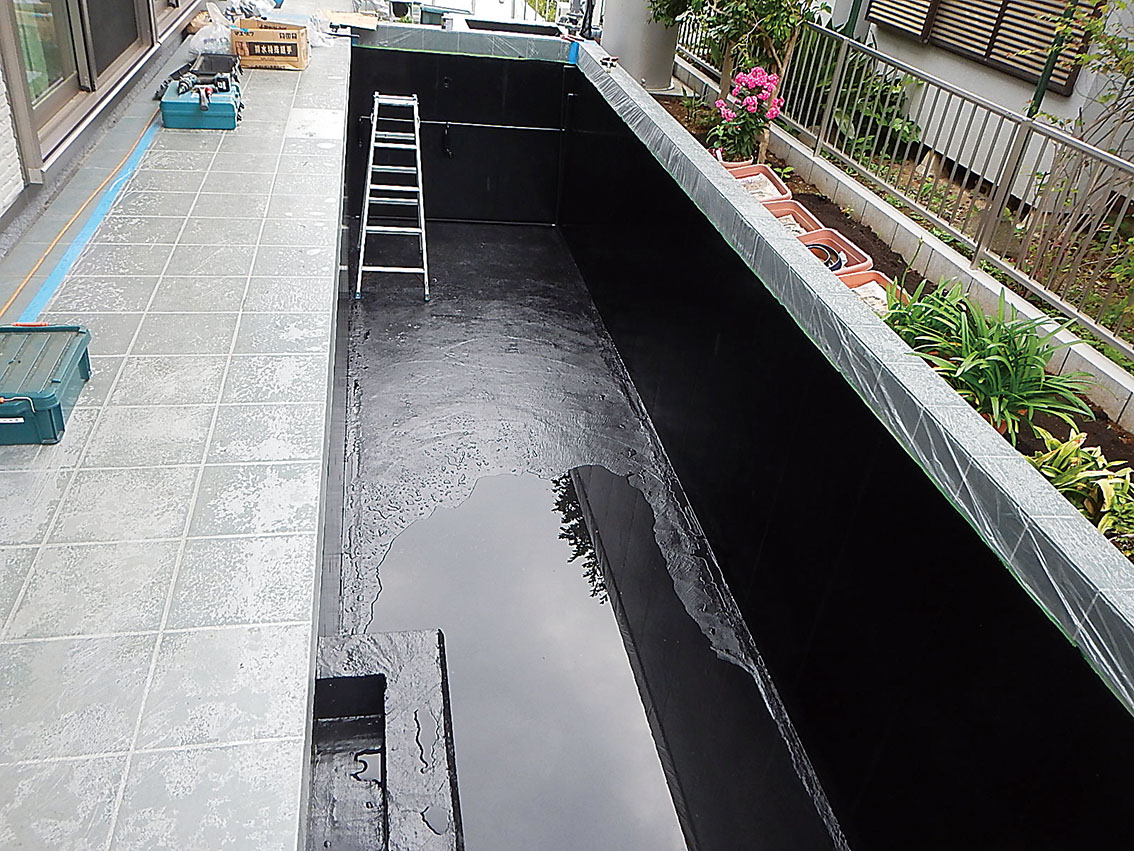
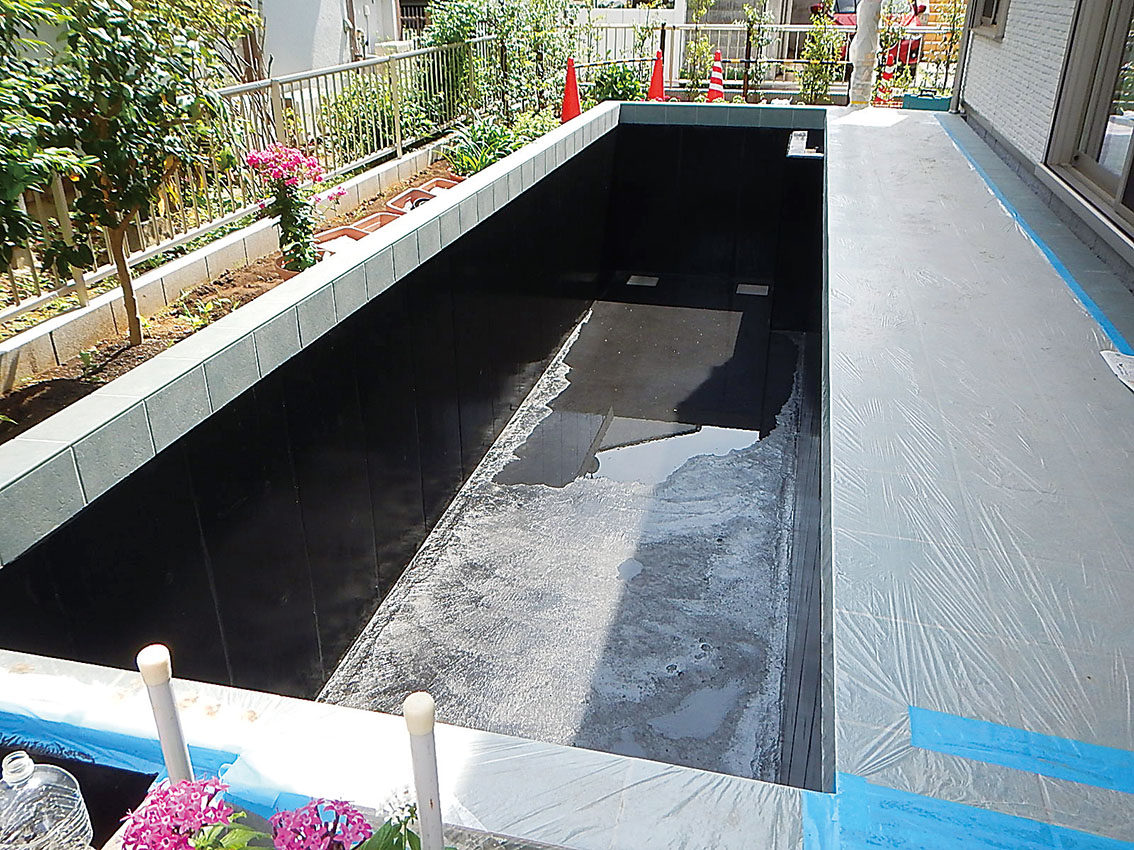
Once the formwork has been dismantled, the excess excavated soil is backfilled (18). The area at the bottom left is the overflow inlet. To prevent algae growth, a vinyl-based paint is applied to the pond. We recommend black, as this makes the Koi look their best.
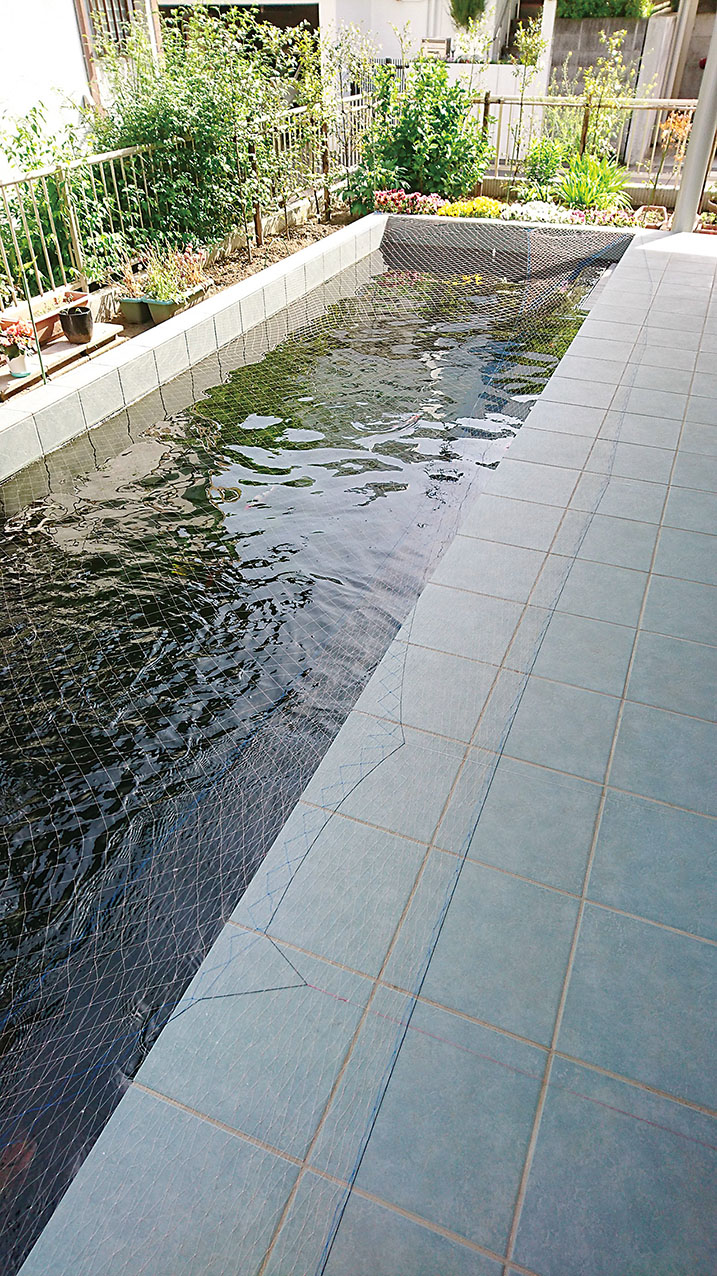
Furthermore, as Mr N wished to have this pond tiled, we laid green tiles between the house and the pond, and covered the area above the water’s surface with tiles of the same colour (19).
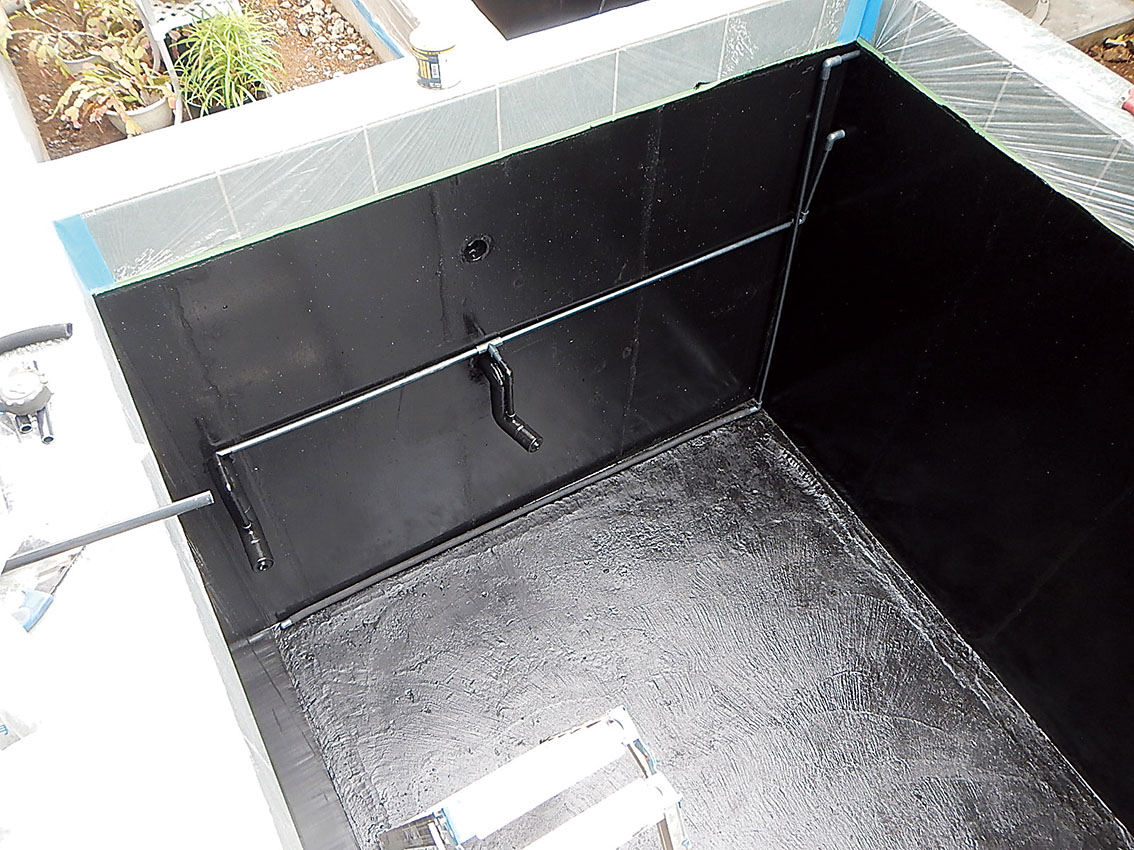
We installed jets in two locations (20). These are the pipes we laid earlier. The upper opening is a natural gravity outlet for when the jets are not in use.
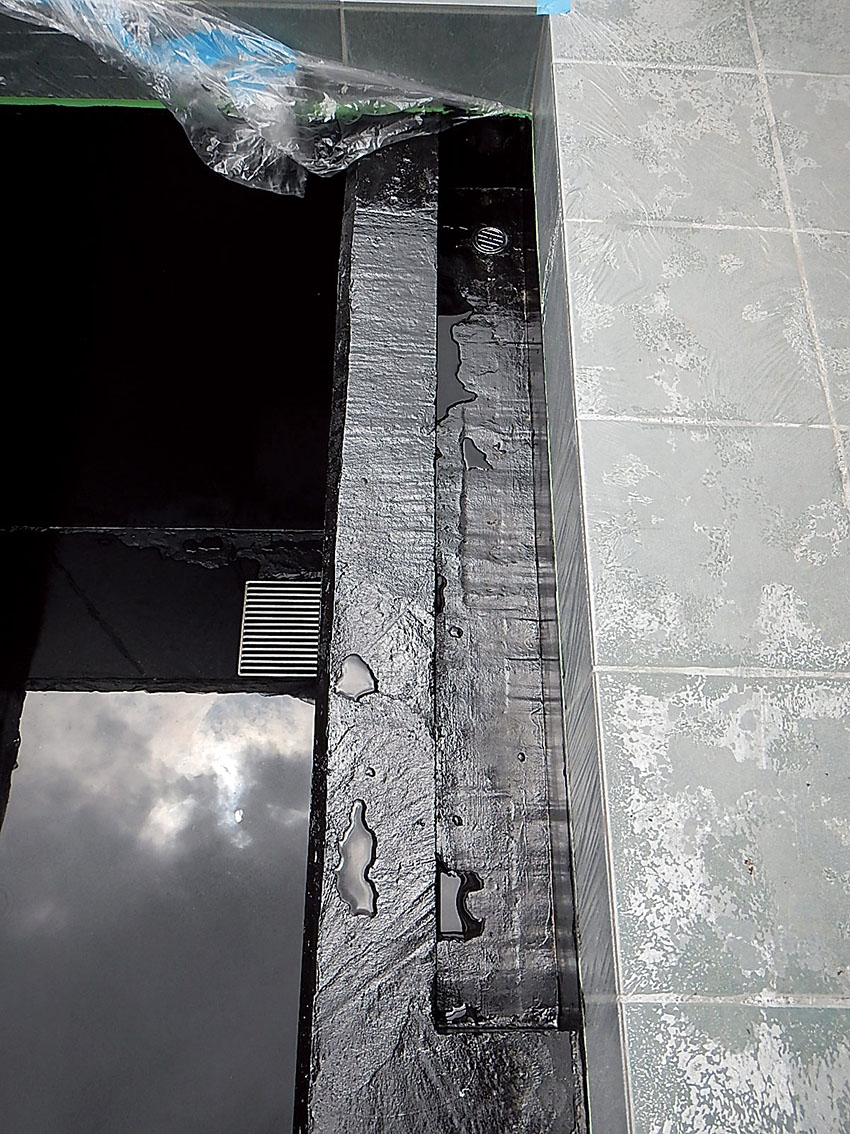
The overflow section looks like this (21). What you can see to the left of that is the slatted grating at the bottom of the pond.
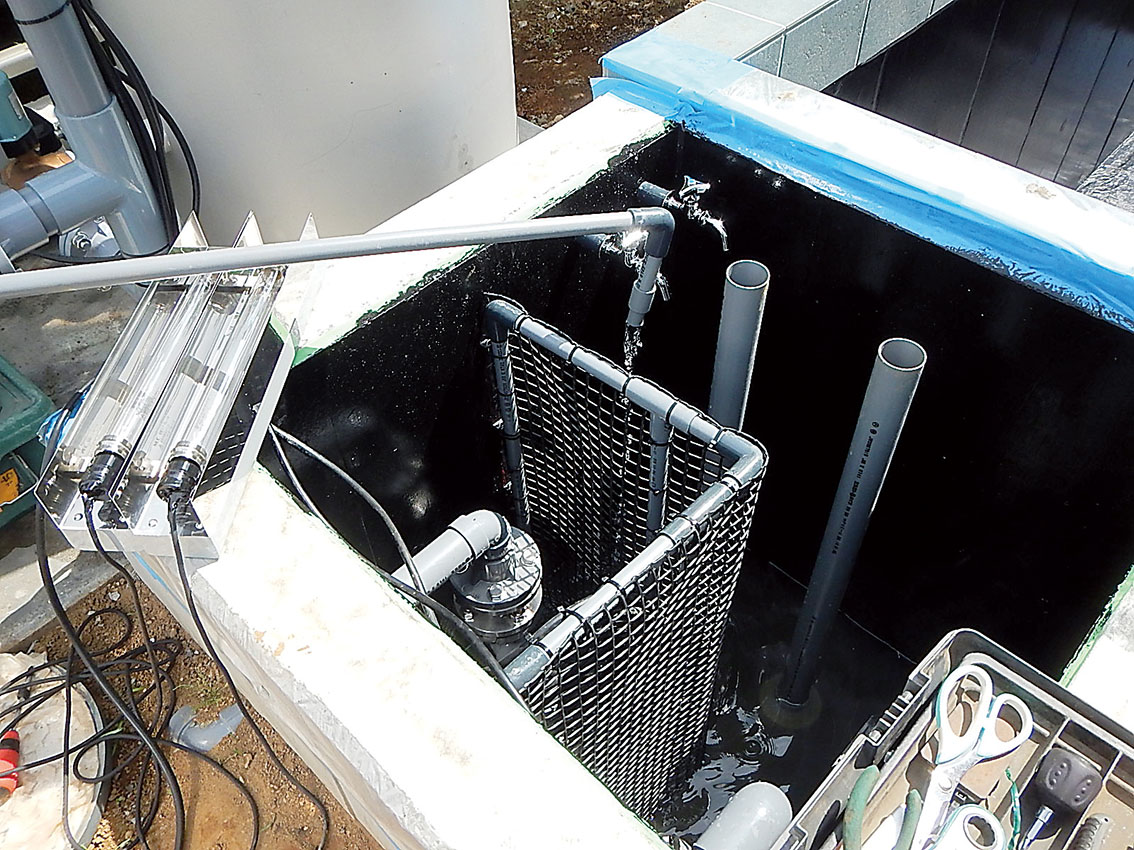
Let’s take a look inside the pit (22). As this property is located in a residential area and Mr N was concerned about noise affecting the neighbours, we installed a submersible pump rather than an above-ground pump. Furthermore, we used anti-vibration couplings between the pipework and the pump. These absorb vibrations and work on the same principle as those used in earthquake-resistant apartment blocks. Fitting this prevents vibrations from being transmitted to the structure, so it makes absolutely no noise.
As this is a submersible pump, we cannot fit a tornado catcher; instead, we have installed a slatted grate around the pump to catch coarse debris. The two pipes protruding from the ground are used to temporarily shut off the water flowing in from the pond.
The water supply is set up to allow the use of both well water and mains water. We generally use well water, but when that is unavailable, we top up with mains water. Placed on the edge of the pit is the submersible UV steriliser, prior to installation.
With the filter unit also in place, the pond was complete (23). However, as it transpired that the groundwater contained extremely high levels of iron and manganese, we decided to install a sand filtration system, a filter, and an American-made iron and manganese removal unit containing ion-exchange resin (24). This resulted in additional equipment costs. Naturally, these would not be necessary if the water quality were good.
It’s a little hard to see, but the water poured into the pond without using these treatment systems turns bright red from the iron content (25). When Mr N saw it in this state, he agreed that the systems simply had to be installed; after that, the water became clear.
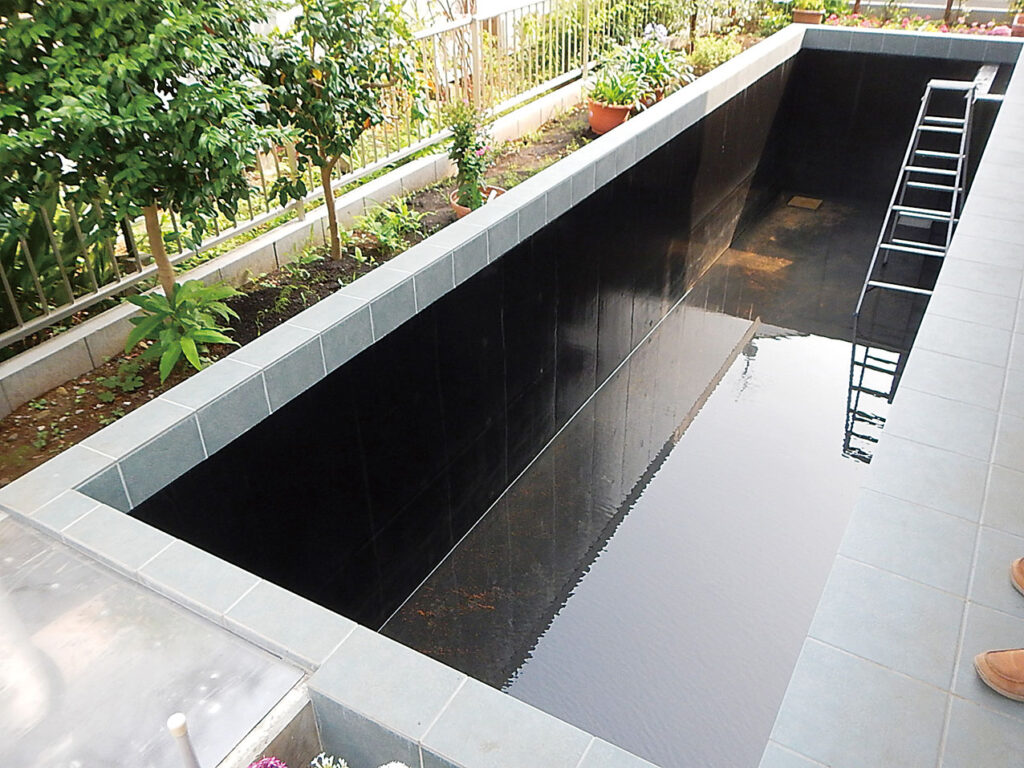
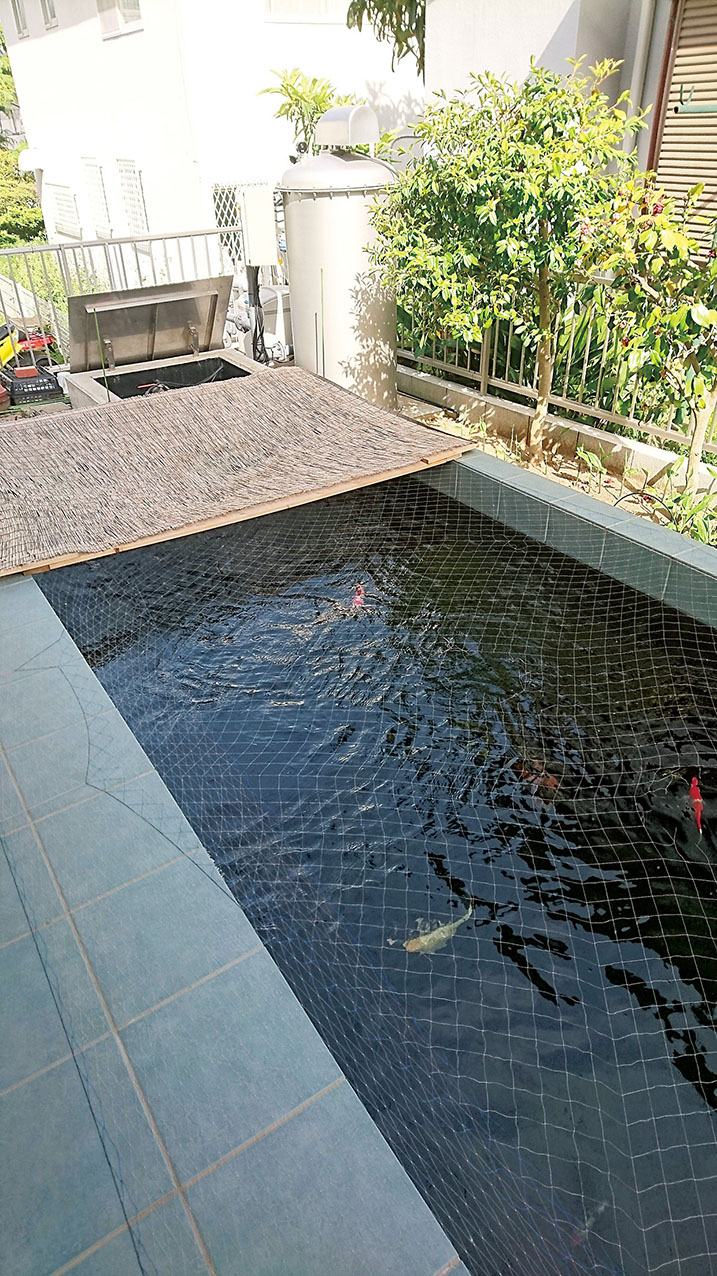
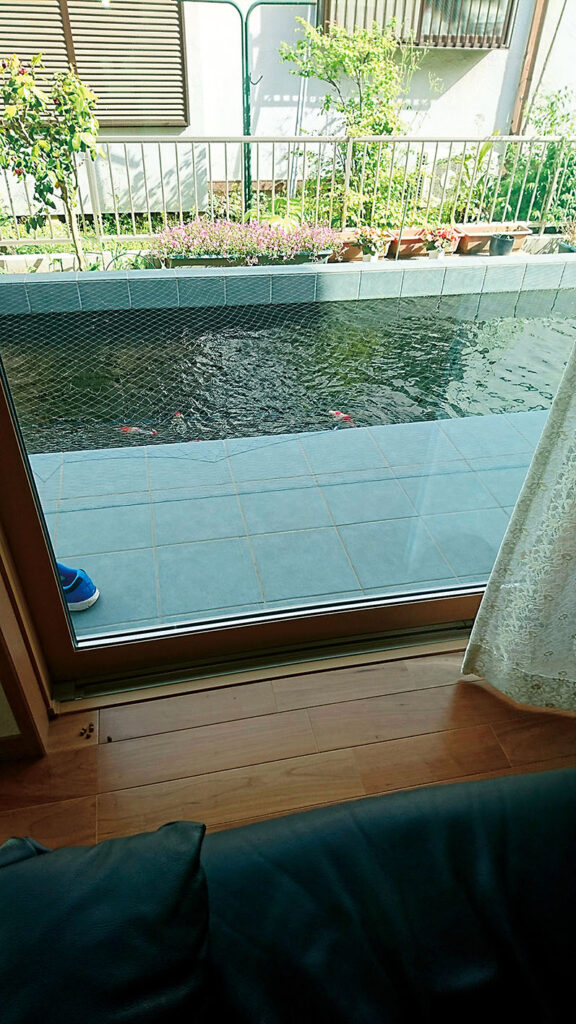
These are photographs of the pond filled with water and with fish actually in it (26–27). As the fish are small, we had to cover the pond with netting to protect them from birds until they grow larger. On rainy days, for example, we can enjoy this view from the living room (28).
(Continued in Part 2)