● Formwork Concrete Indoor Pond – Mr N’s Example
A tiled pond visible from inside the house
Noise mitigation measures for neighbours are also perfectly in place
Now, let us discuss pond construction methods whilst looking at examples of projects our company has undertaken to date.
There are broadly three methods of pond construction. The first involves pouring concrete into formwork. The second involves building the pond by stacking blocks. And the third involves fabricating a FRP tank. First, we will introduce a customer’s pond built using the method of erecting formwork and pouring concrete.
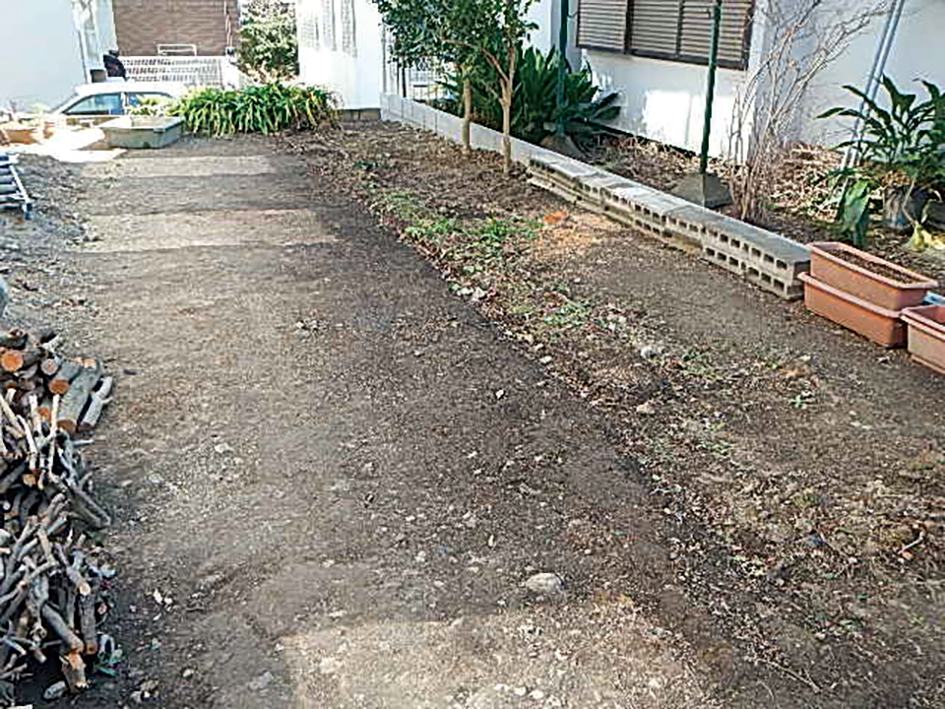
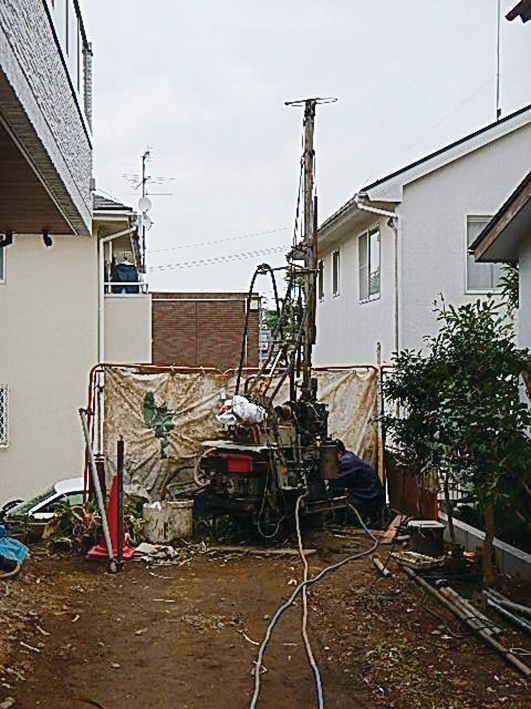
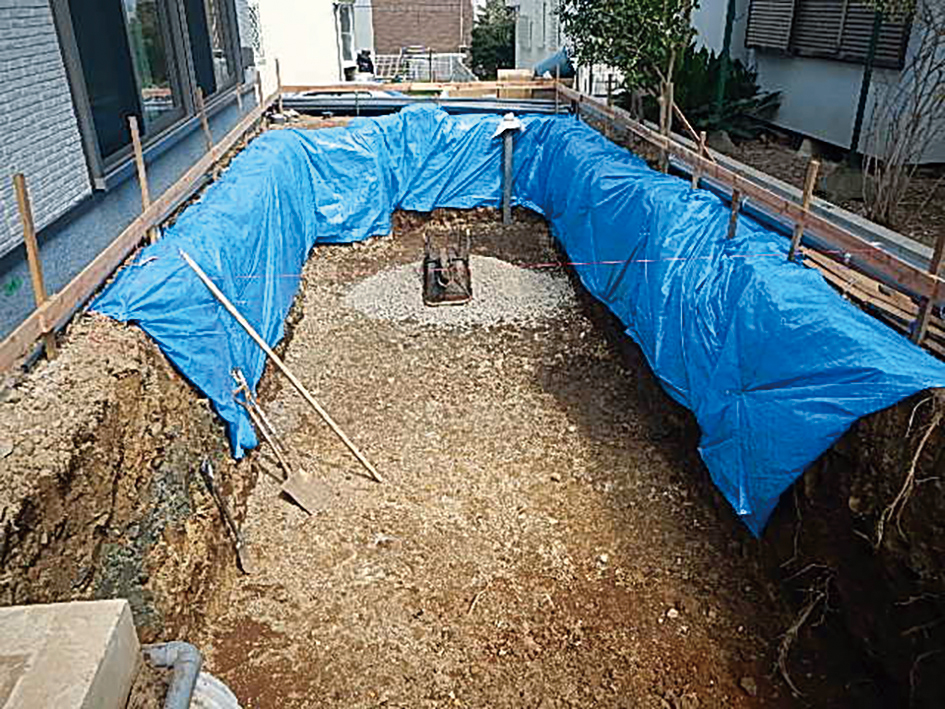
First up is Mr N’s property. This photograph shows the garden before the pond was built (1); although not visible in the picture, the house is on the left-hand side. The client requested that the pond be made as large as possible within this narrow, elongated space, whilst ensuring it could be seen from inside the house. After careful consideration, we decided on a pond with a capacity of 25 tonnes. Naturally, as using groundwater would keep running costs lower, we began by drilling a well.
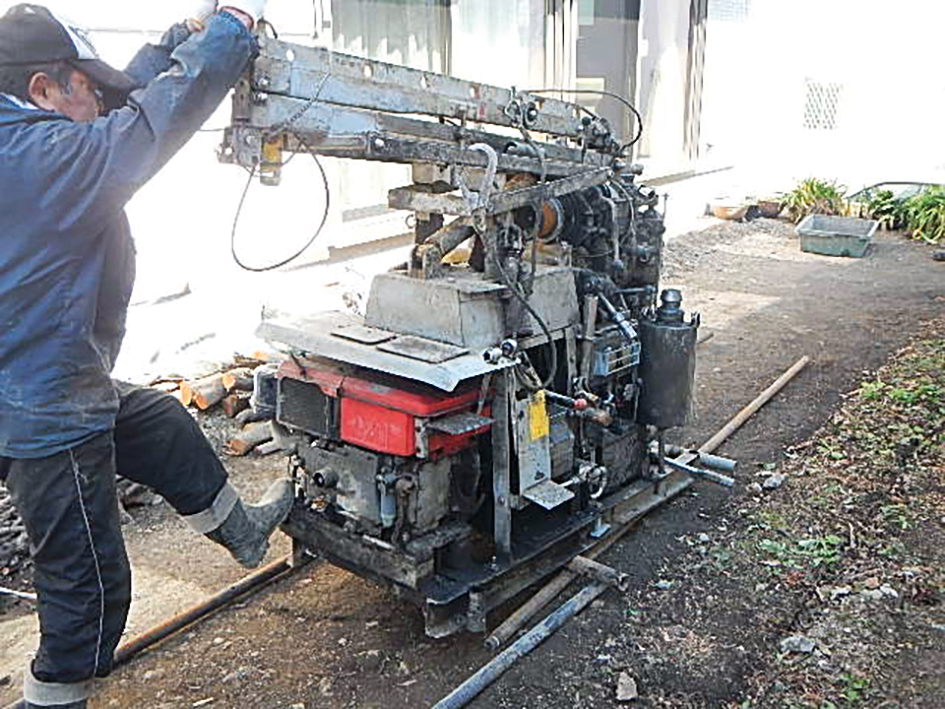
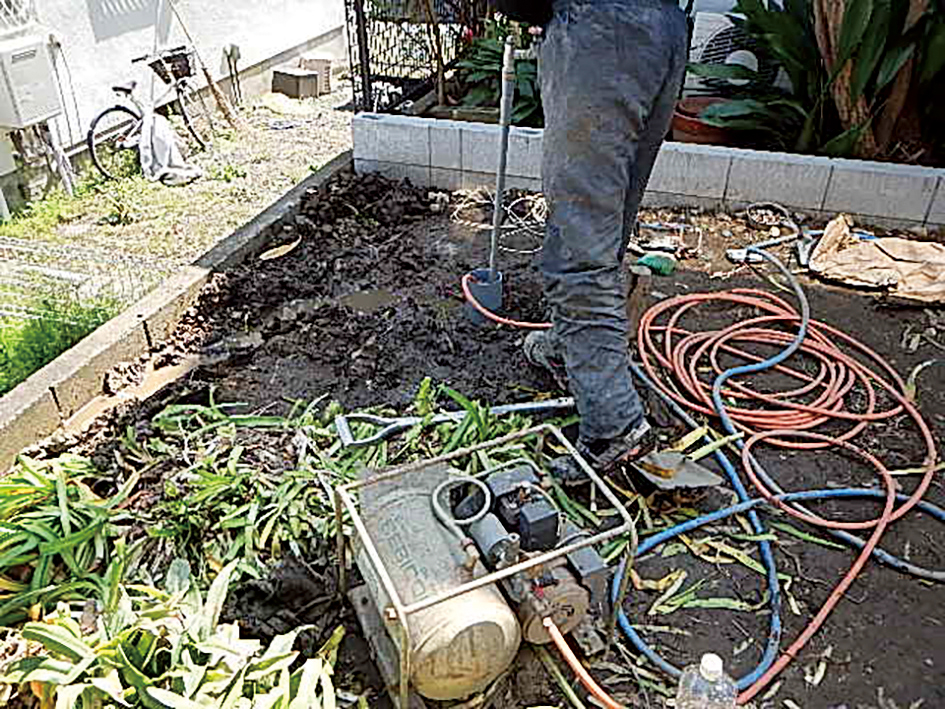
This is the machine used for the well-drilling work (2). First, we erected the derrick. As we wanted to dig the well at the very back of the property, we carried out this work before constructing the pond (3). This is our smallest machine, capable of drilling down to 30 metres. It took about ten days to drill the 30 metres, and the well was completed. Although we call it a well, the finished diameter is only about 10 cm (4), so there is no risk of anyone falling in.
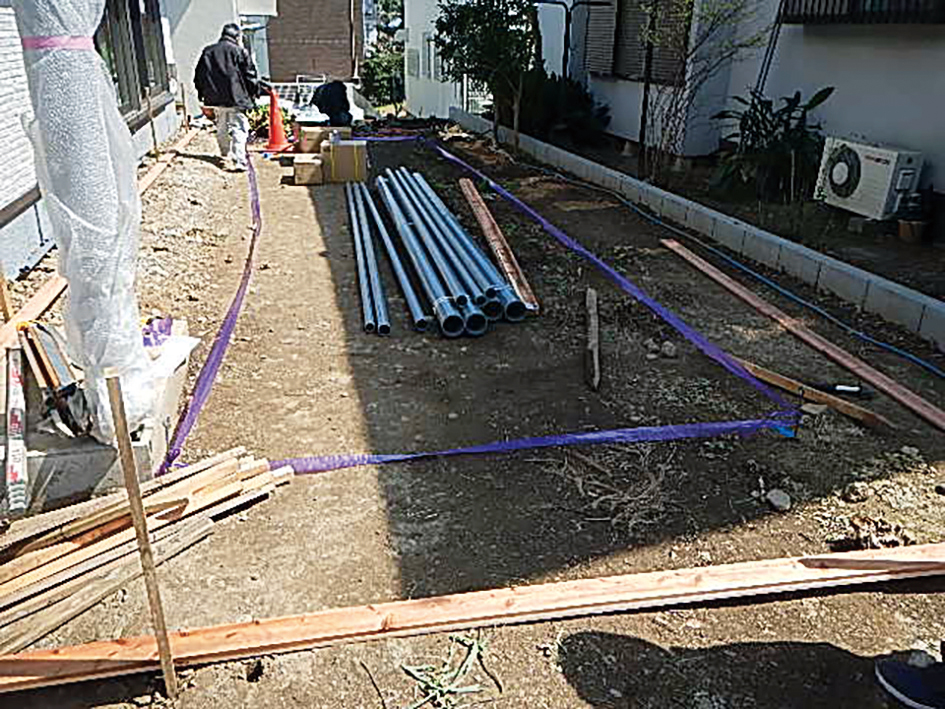
Once the well was complete, we moved on to building the pond. First, we staked out the site (5) so that the client could visualise the general layout of the pond. We then carried out a survey to determine its positional relationship with the building, established the upper edge of the pond (6), and excavated it as shown here (7). Mr N had requested that the pond be situated 1 metre 20 centimetres away from the building; when erecting formwork, we had to excavate a larger area initially—known as ‘over-excavation’—to allow for this. The blue sheet is used for soil retention.
Next, we filled this area with crushed stone, poured a sacrificial concrete layer and marked out the final positions (8) based on the design drawings. The thin black lines on the sacrificial concrete indicate the edge of the pond. We installed two sump chambers for bottom water near the pipework at the front, and as we were constructing a pit at the back, two φ100 pipes were laid underground to connect them.
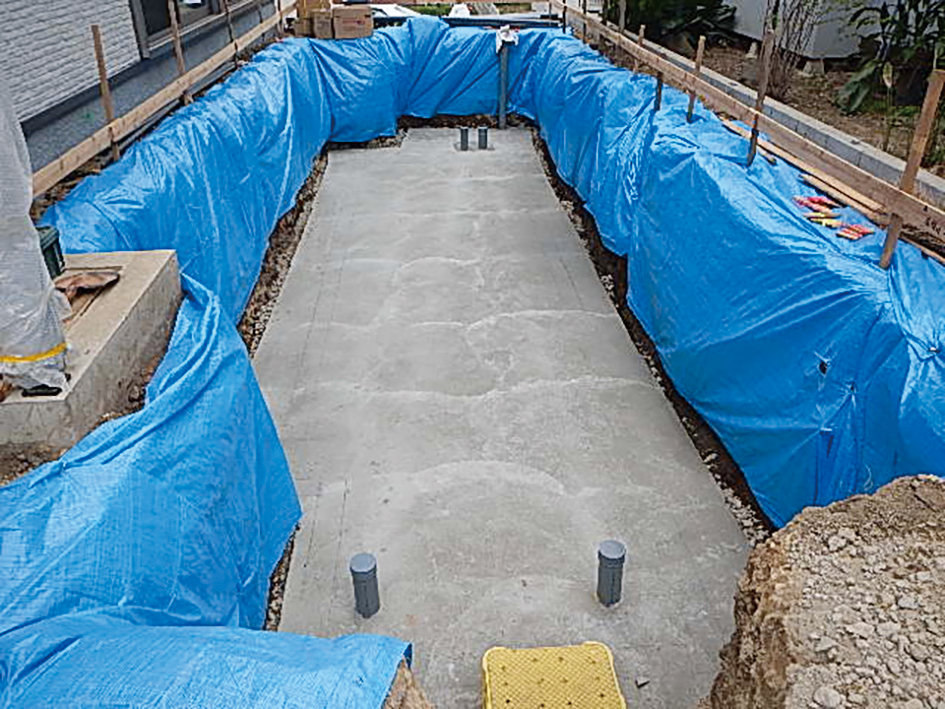
The left-hand side at the front juts into the pond; this is because the house’s foundations were in the way. However, we have ensured that this section will be straight in the finished state, as you will see later.
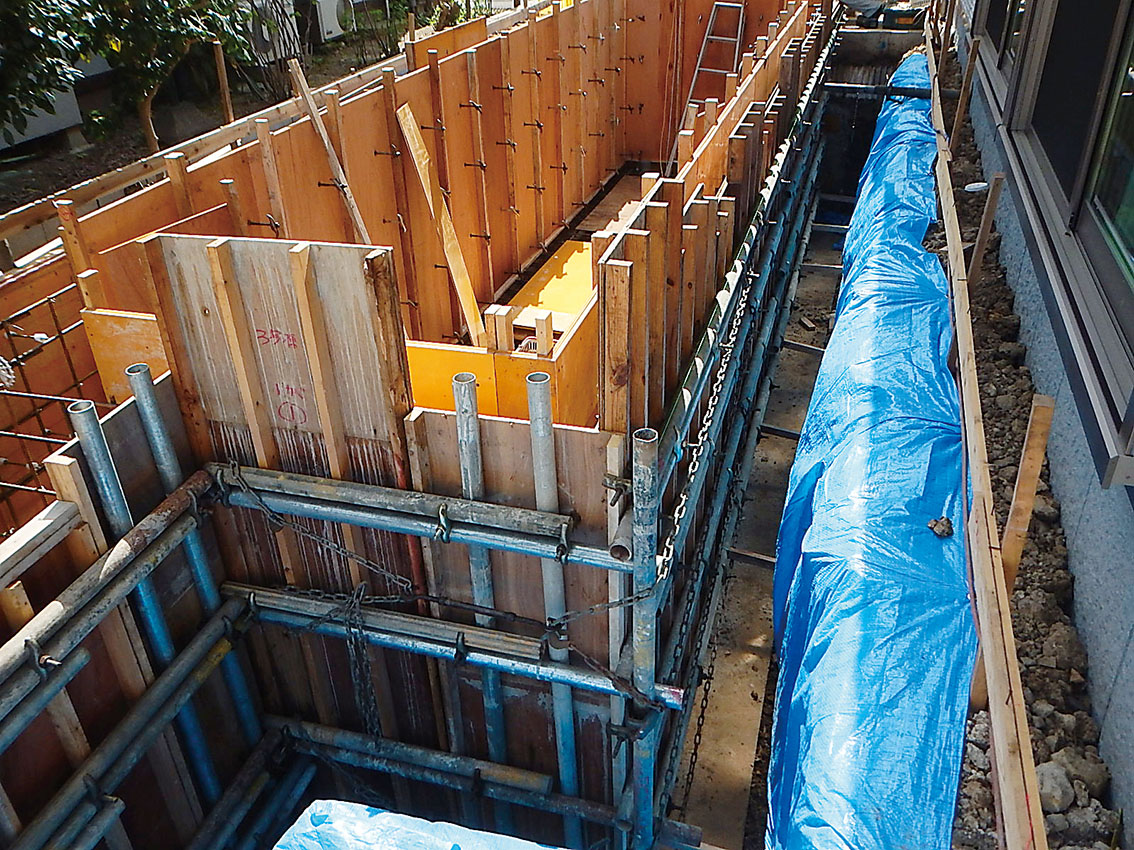
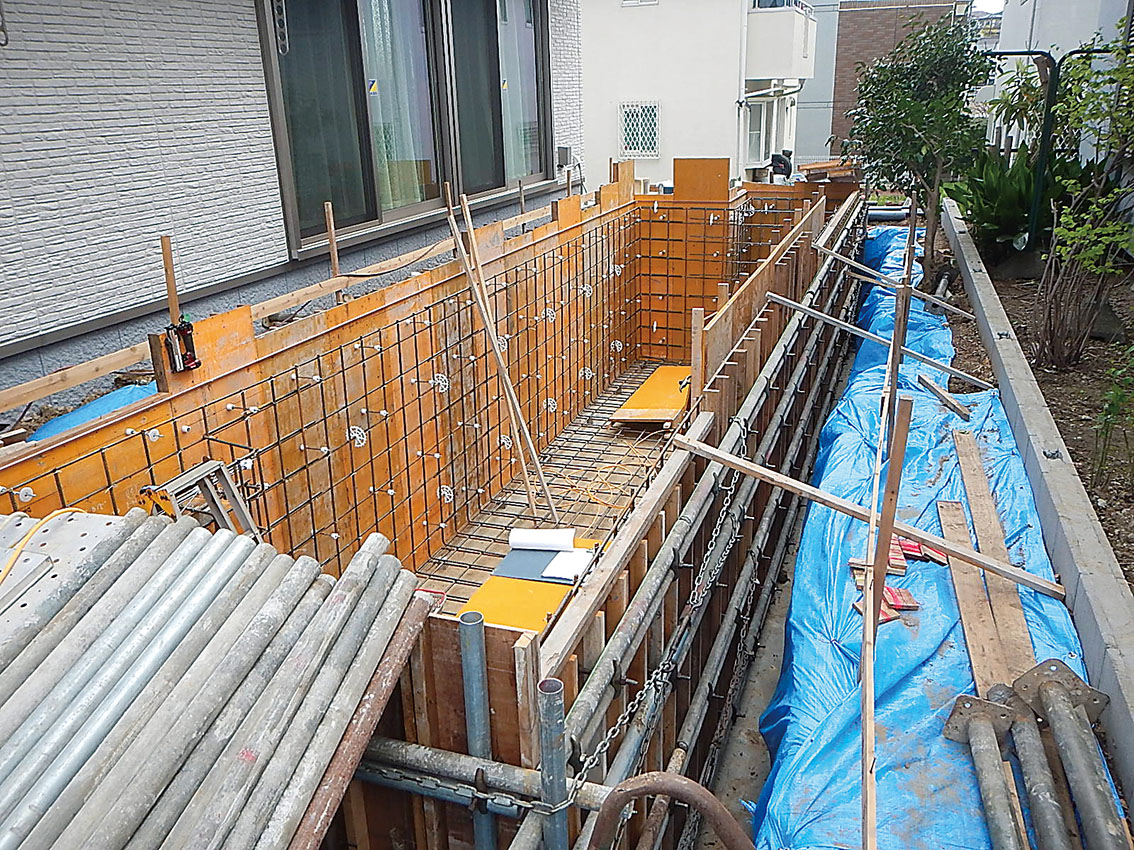
Next, we will erect the formwork (9). We are using single-bar reinforcement. The biggest concern with a pond is water leakage, so our shop recommends pouring concrete into both the base and the upstand and allowing it to set in a single pour.
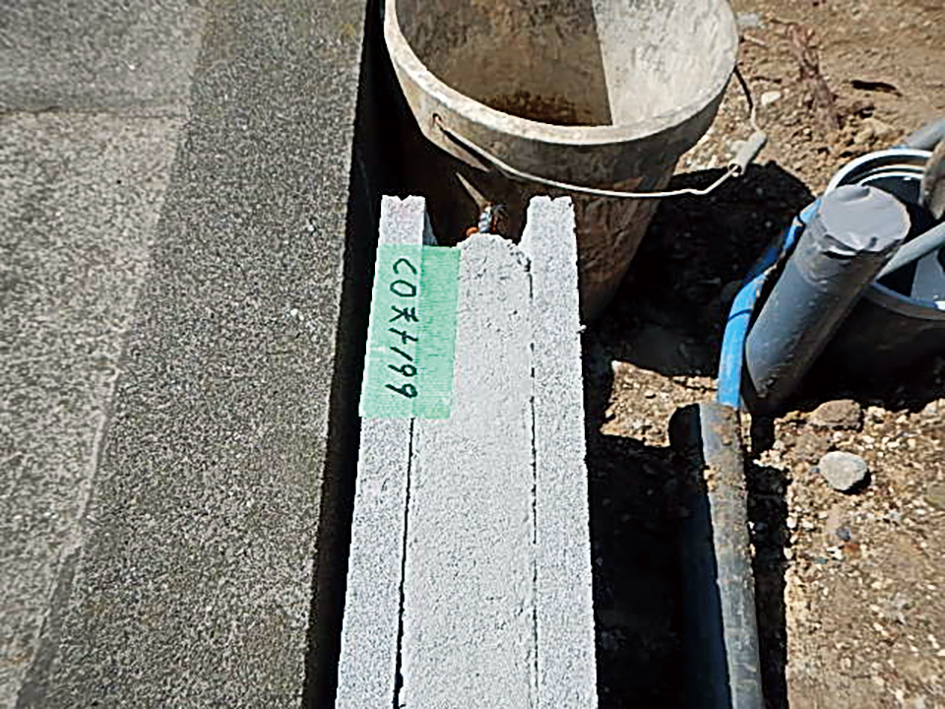
This is the shape of the corner (10). We decided to position the overflow pipe where the house’s foundations were in the way, creating a channel for the water to flow through.
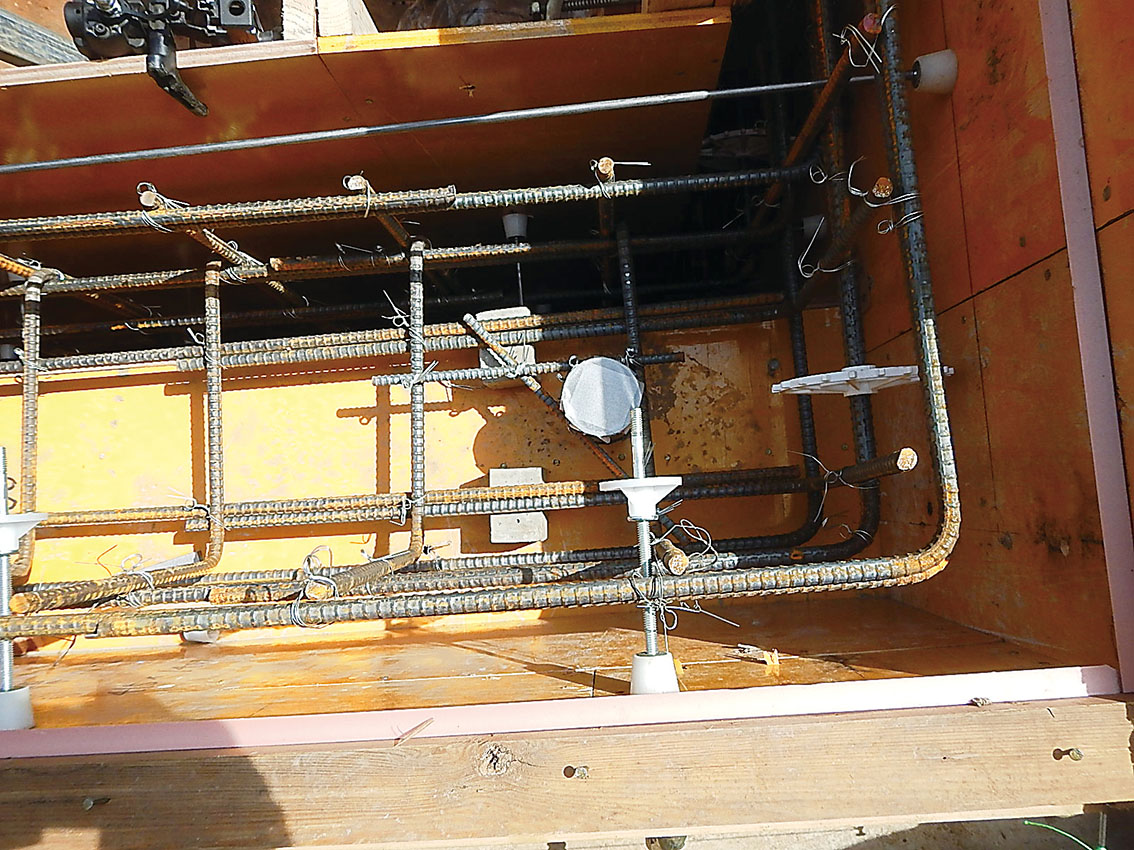
The pit looks like this (11), with the pipework rising up from the bottom at this point. The pipework extending from the side leads to the filter. Furthermore, to avoid any issues with aeration pipework or wiring later on, we set the pipes in place before pouring the concrete (12).
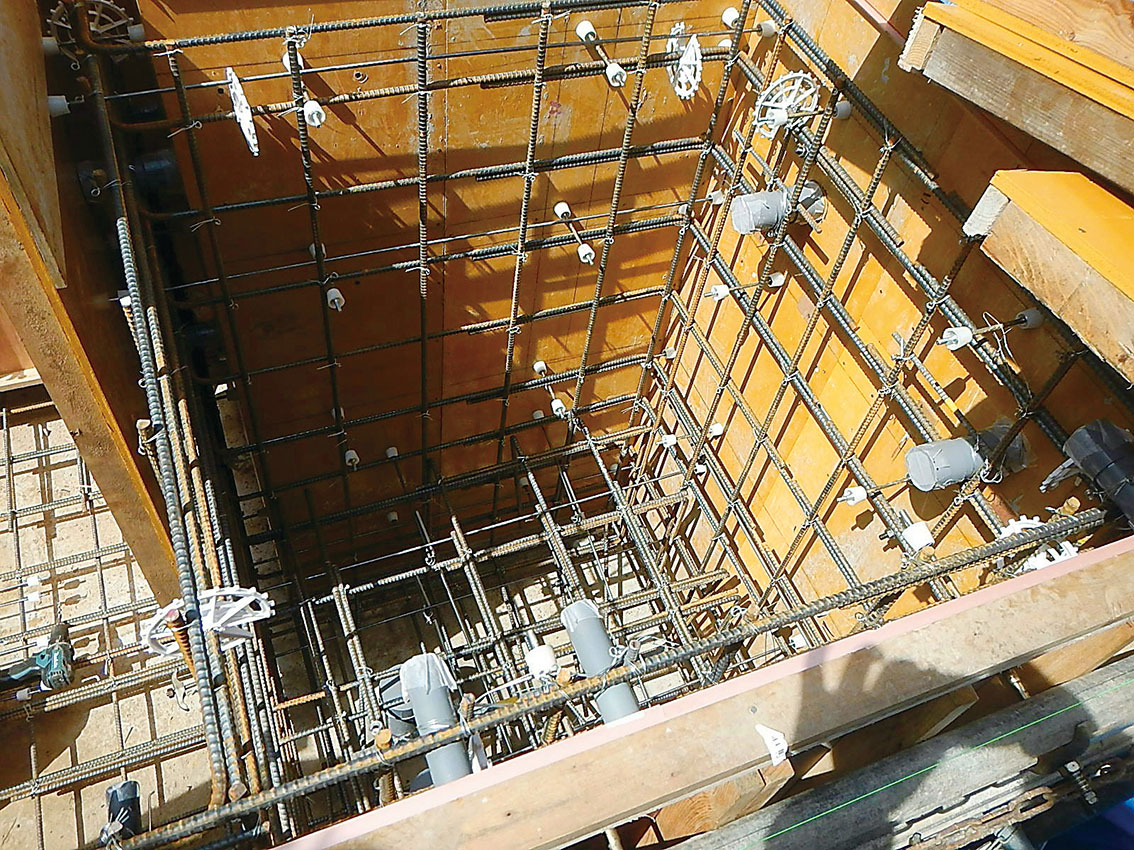
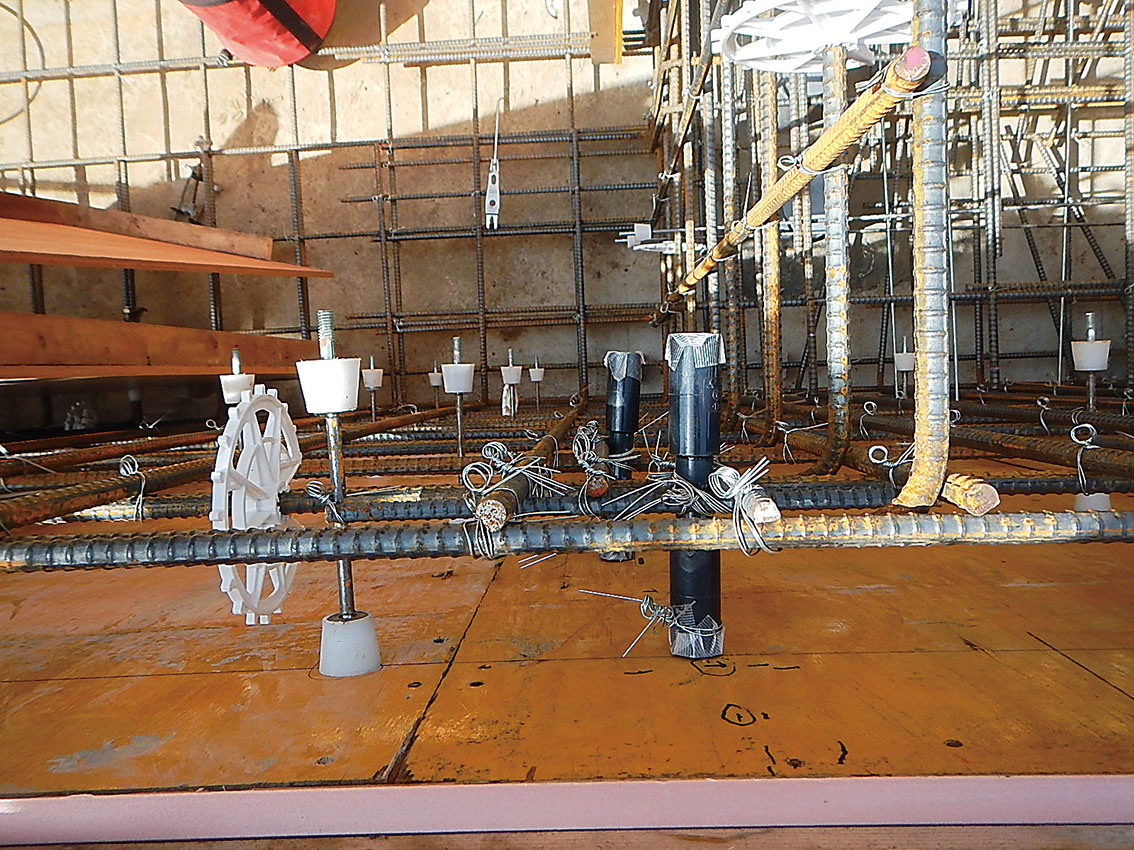
As it is a long, narrow pond with a considerable distance from one end to the other, the fresh concrete expands significantly once poured. Therefore, we must properly reinforce the outer edges and secure them with chains (13). If this were to burst, it would be game over in an instant, which is why we need this much extra excavation. The struts serve to hold the formwork in place and also provide a working space.
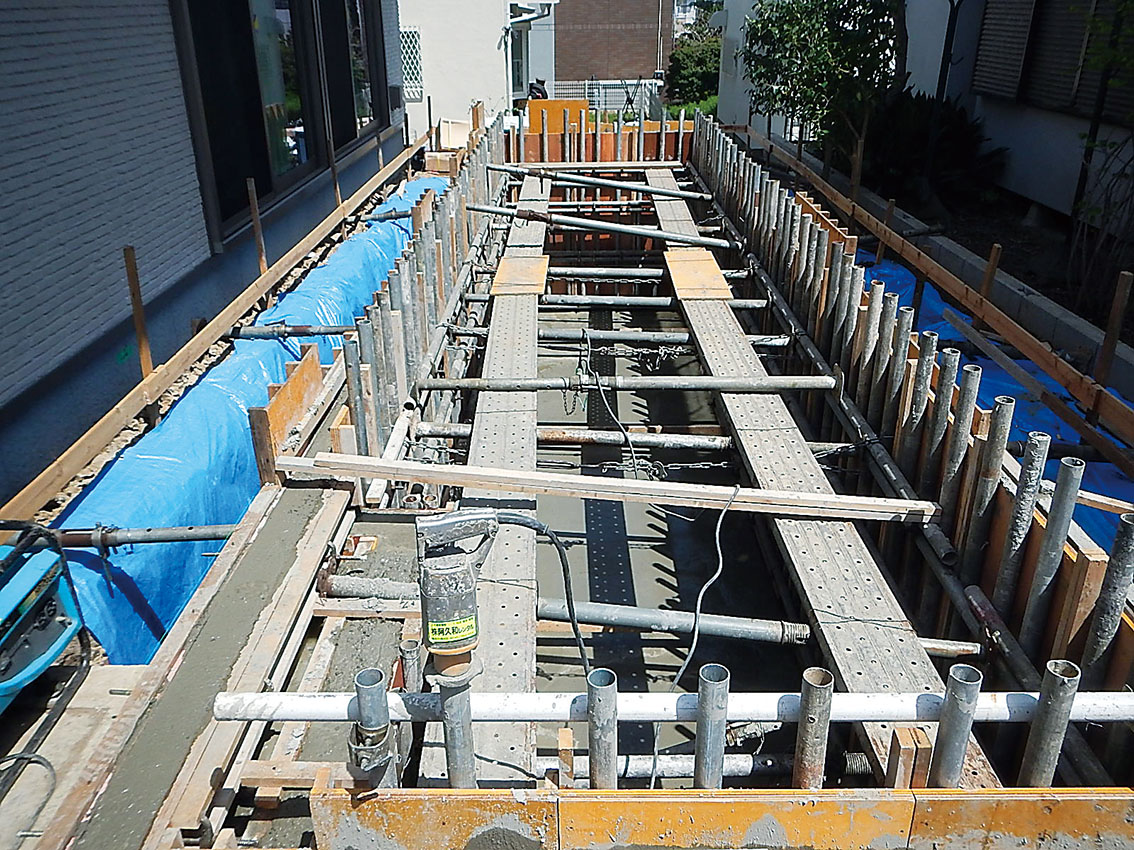
The formwork was assembled and the fresh concrete was poured (14). The surrounding area is now filled with fresh concrete. The base was also poured at the same time. We set up scaffolding across the upper part of the pond and poured the concrete in stages.