Takuro Nishikigoi Seminar: Equipment Edition/Lecturer: Takuro Ogiku (Yokohama Nishikigoi)
Building a Pond Without Mistakes (Part 3) — To Enjoy Your Nishikigoi for Years to Come
A popular series: the Nishikigoi Seminar by Takuro Ogiku (Yokohama Nishikigoi). In this instalment, focusing on equipment, he explains pond construction using real-life examples.
A ‘pond’ is essential for keeping Nishikigoi.
Depending on your environment, objectives and budget, the options range from aquariums to large concrete ponds. Whilst keeping koi is often described as a process of trial and error, major pond renovations are best avoided if at all possible. To avoid any regrets, let’s draw up a plan with the future in mind.
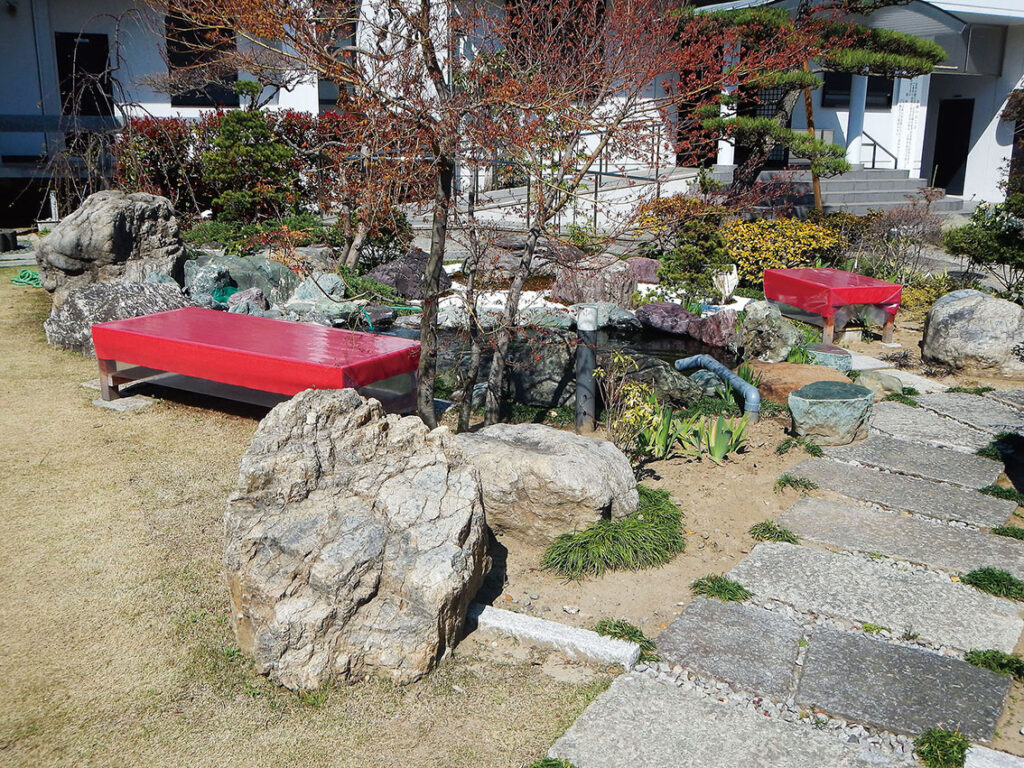
● Block-built Ponds — Mr S’s Example
A Japanese-style pond expanded from 4 tonnes to 25 tonnes
Block construction that accommodates curved surfaces
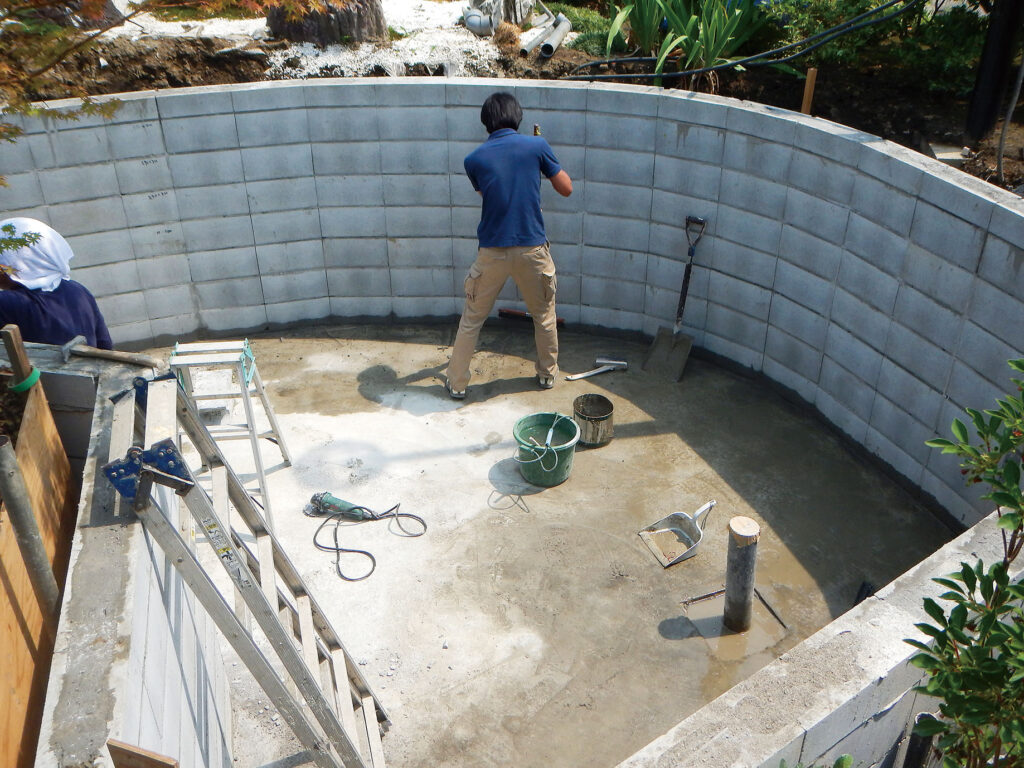
Next, we’ll introduce a pond built using concrete blocks. This client requested a Japanese-style pond. They originally had a pond of around 4 tonnes (1), which they had enjoyed for about three years; however, as the Koi had grown larger, they felt the small pond was no longer satisfying. Consequently, they commissioned us to demolish it and construct a 25-tonne pond in its place. The new pond will extend right up to the area with the paving stones.
After demolishing the original pond, we pour a concrete base (2). As the new pond will have a slightly unusual shape, we will be laying special blocks (3). The shape is designed to accommodate a large volume of fresh concrete, so these blocks are slightly different from standard ones. This area will serve as the biological filtration tank (4).
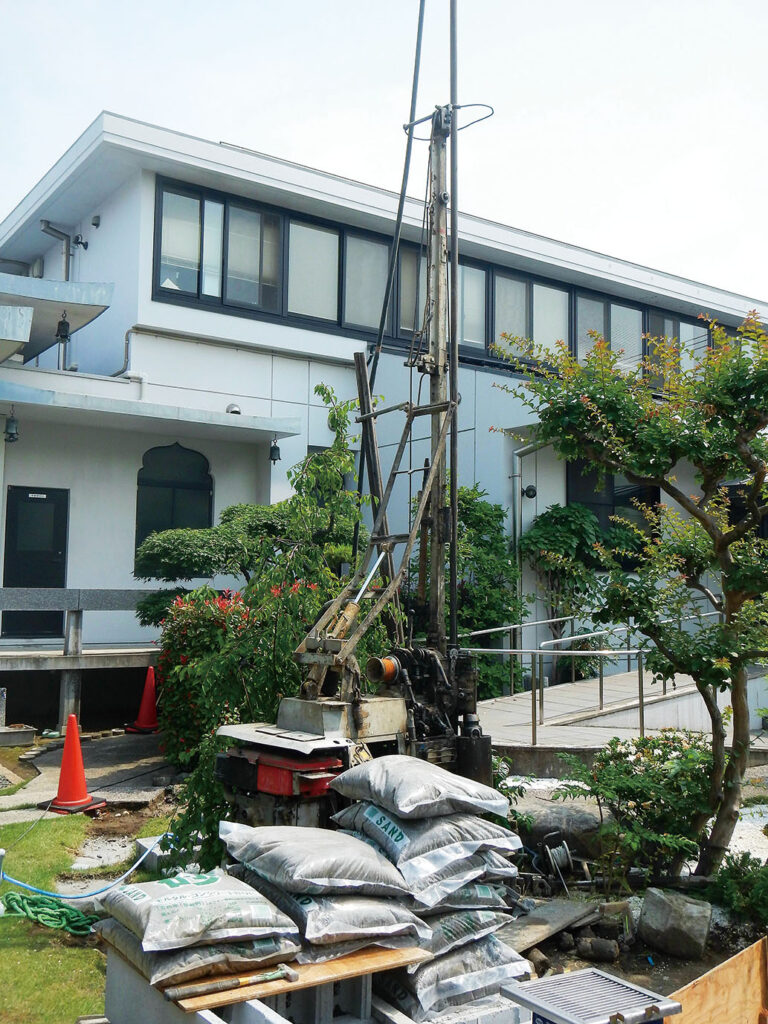
As the water volume is 25 tonnes, we decided to dig a well. We used the same machine as for Mr N, whom we introduced earlier (5), and to our surprise, well water began to flow at a depth of 12 metres.