Takuro Nishikigoi Seminar: Equipment Edition/Lecturer: Takuro Ogiku (Yokohama Nishikigoi)
Building a Pond Without Mistakes (Part 2) — To Enjoy Your Nishikigoi for Years to Come
A popular series: the Nishikigoi Seminar by Takuro Ogiku (Yokohama Nishikigoi). In this instalment, focusing on equipment, he explains pond construction using real-life examples.
A ‘pond’ is essential for keeping Nishikigoi. Depending on your environment, objectives and budget, there is a wide range of options, from aquariums to large concrete ponds. Whilst keeping Nishikigoi is often described as a process of trial and error, it is best to avoid major pond renovations if at all possible. To avoid any regrets, let’s draw up a plan with the future in mind.
● Formwork Concrete Pond – Mr M’s Example
Building a new home: starting with a pond
Adjacent to the living room, yet featuring a fully-fledged anti-vibration design
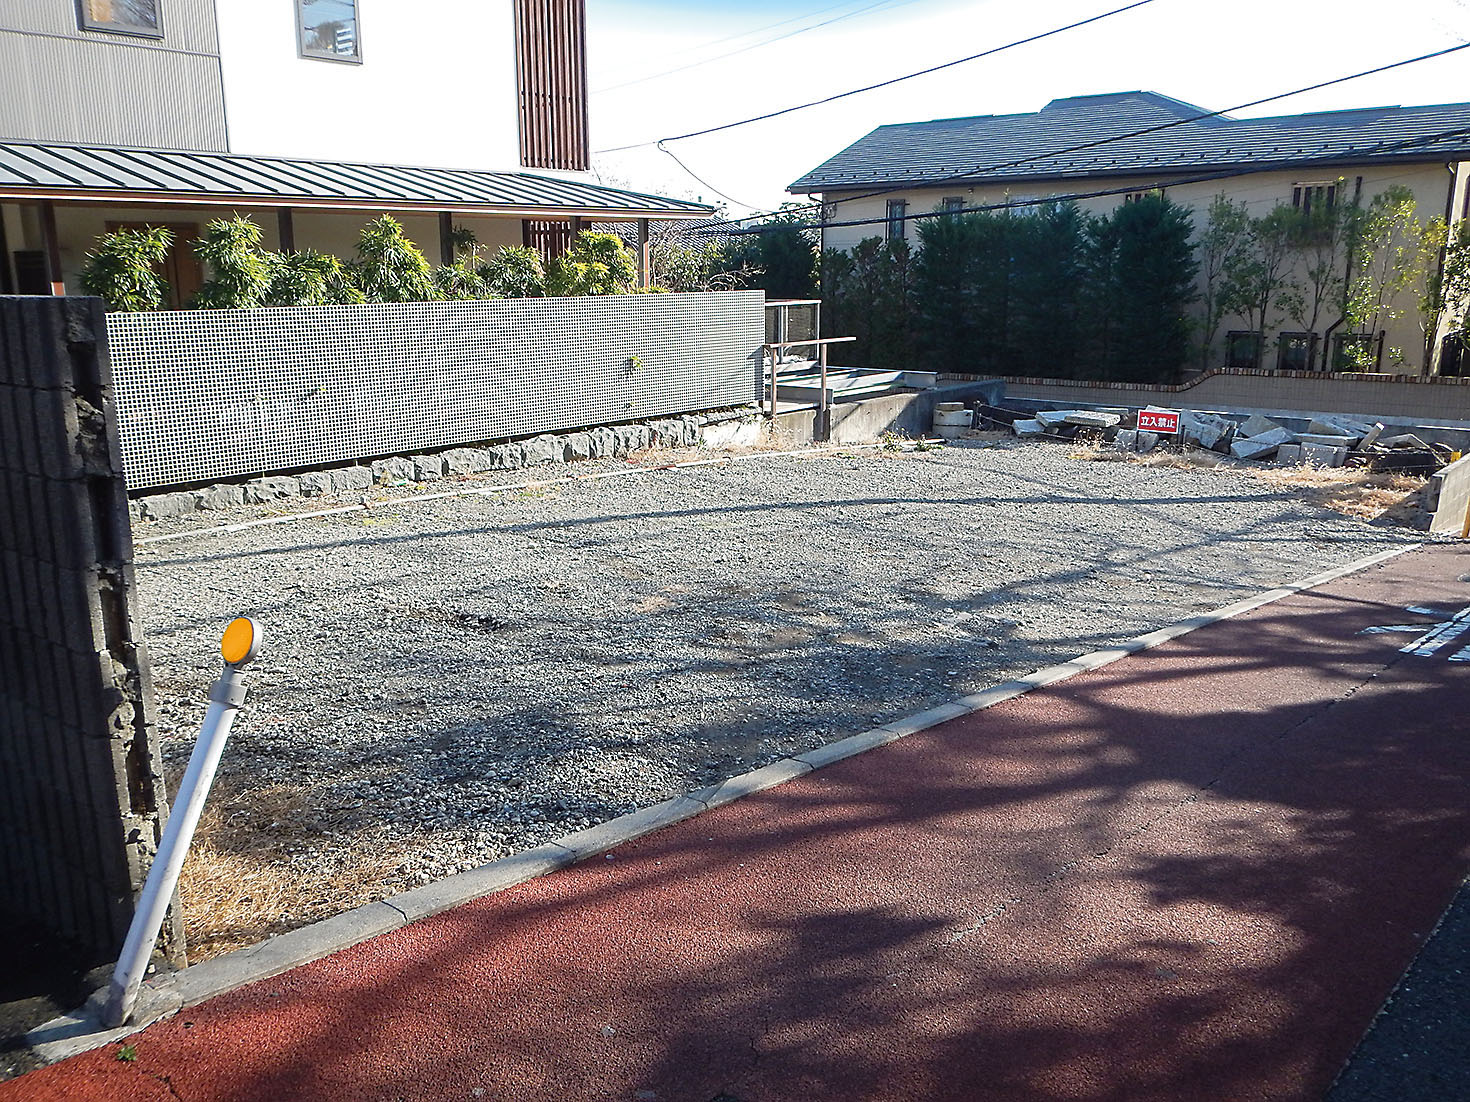
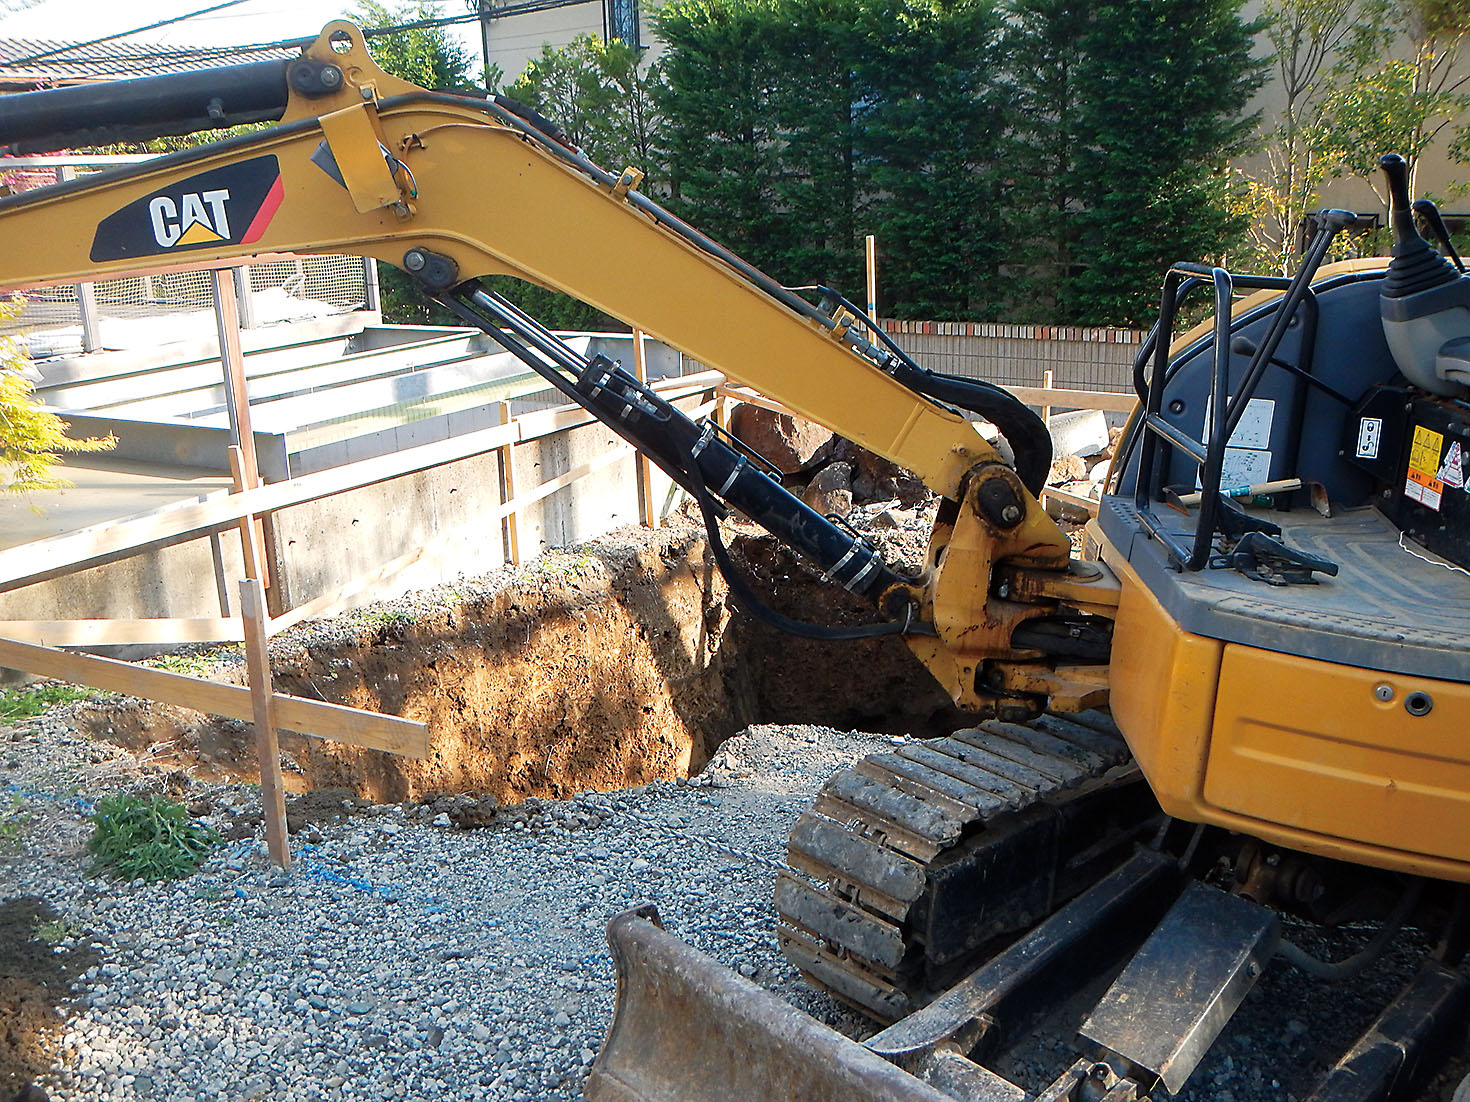
The pond at this property was also constructed using formwork. The client built the pond before erecting the house, whilst constructing their new home. Before work began, the site looked like this (1), and the client’s wish was to ‘place the pond as close as possible to the house’. Let’s take a look.
First, we set up the layout (marking the shape of the pond on the ground by driving in stakes and attaching narrow boards to act as guides) and began excavation (2). As the ground here is sandy and the soil is extremely loose, there was a risk that the building might shift if excavation took place after the house had been built, so we decided to construct the pond first.
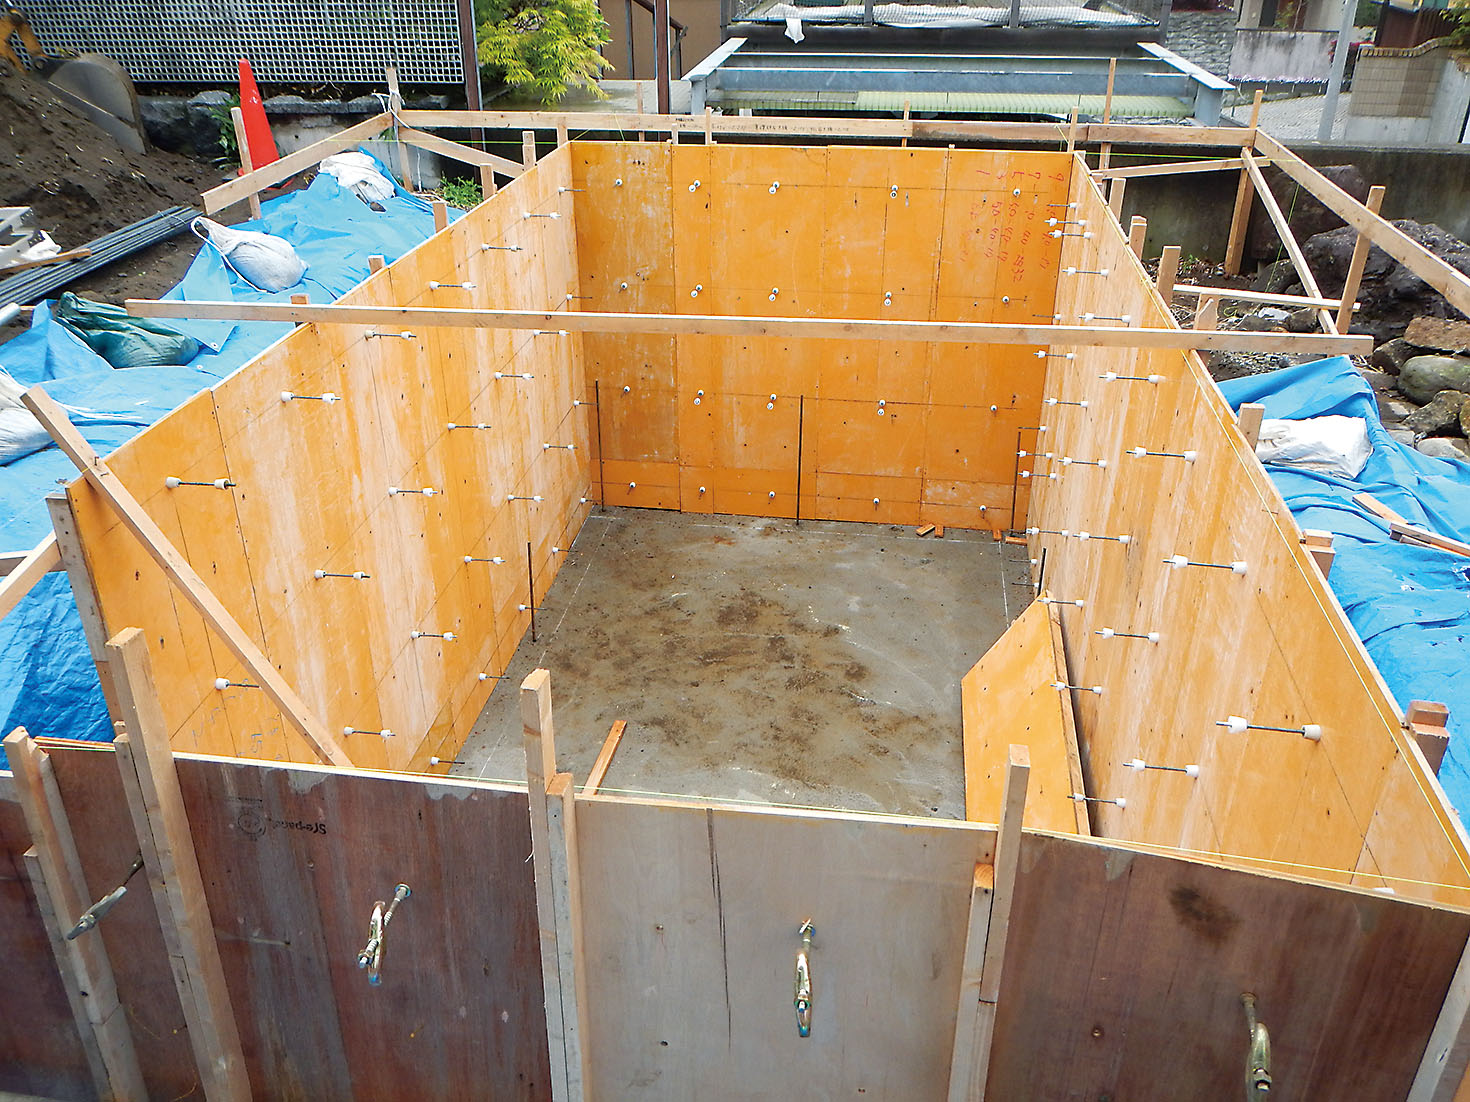
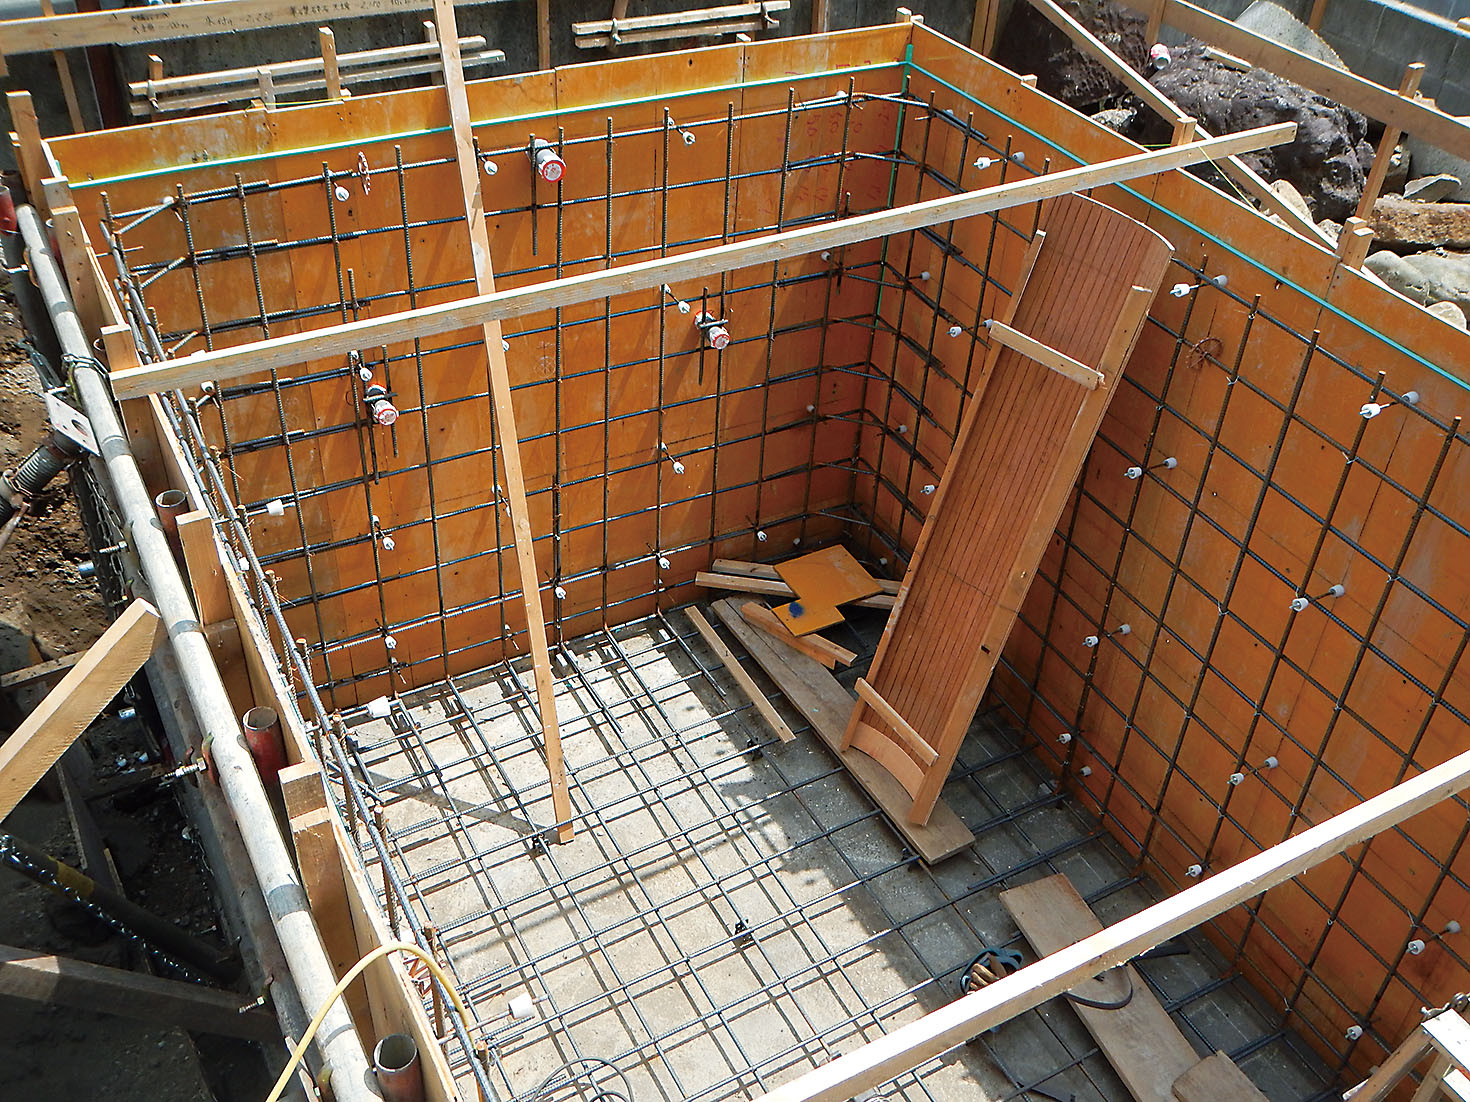
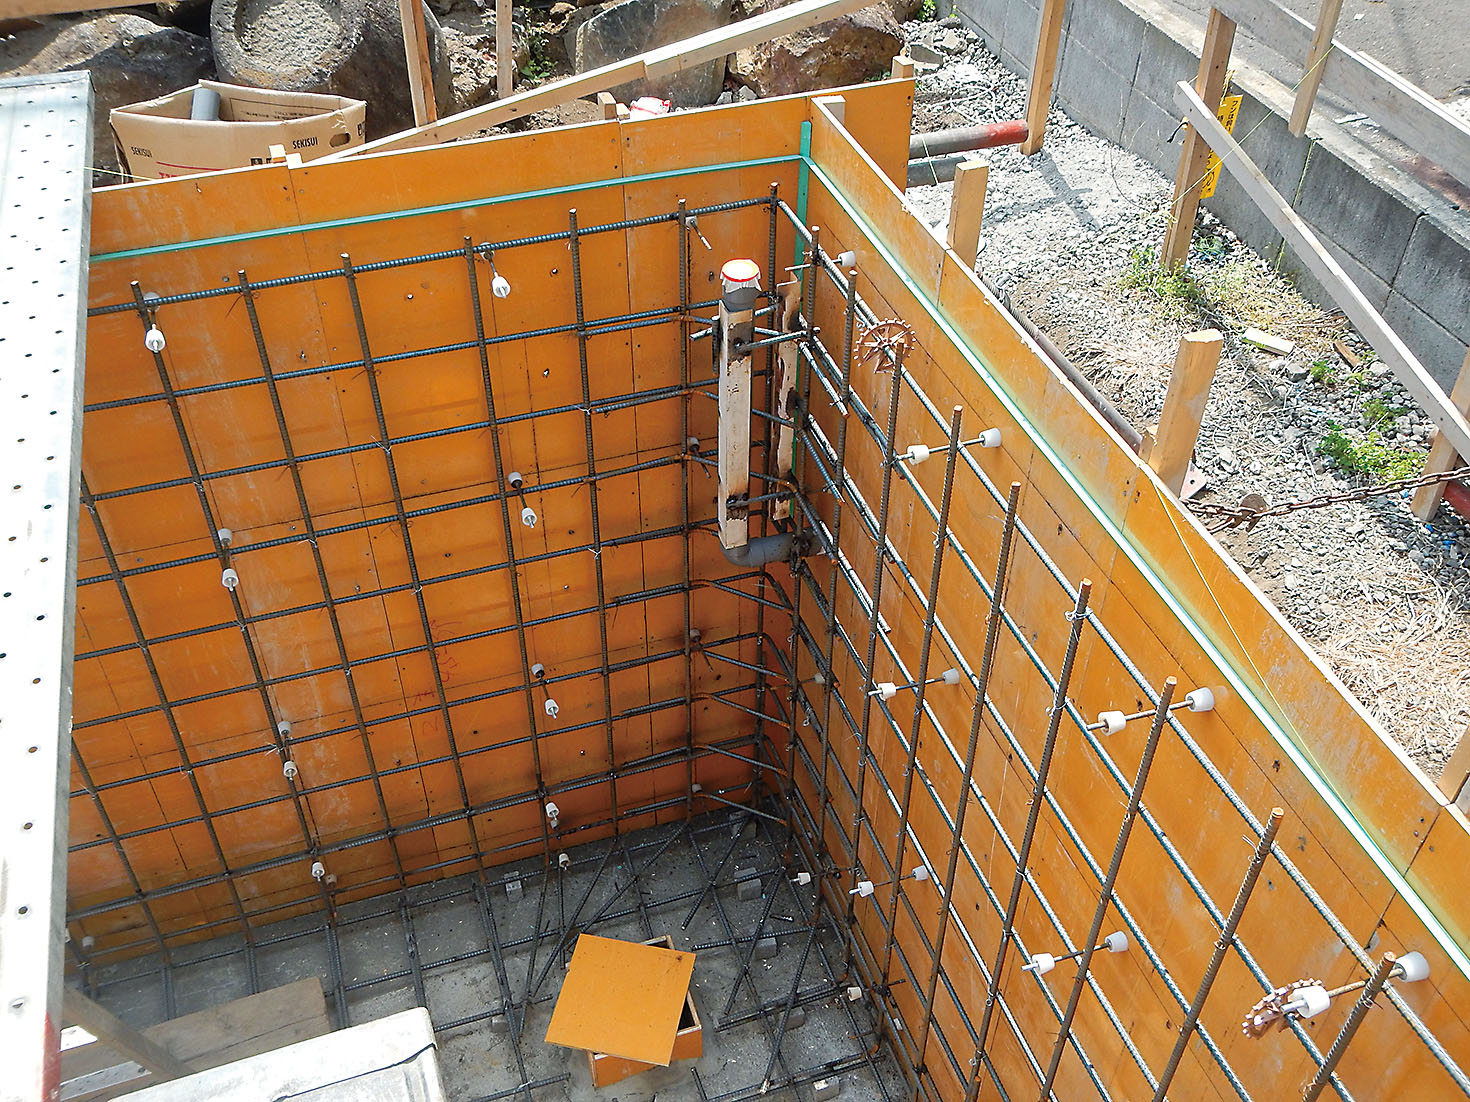
Next, we assembled the outer formwork (3). The rebar used in this property is also single-strand, and as the corners are to be rounded, we have cut curved plywood to fit the curves (4). We wanted to conceal the overflow within the curved plywood structure, so we have welded the pipe in place to secure it (5).